Darktable is a completely free and open source photography software for all the major OS, including various Linux distros, Windows, macOS, and FreeBSD. It lets you store all the precious digital negatives in a database that you can later develop raw images. It’s a powerful image editing application created by photographers for photographers. This software has a huge community where everyone can contribute to its development through their thoughts, ideas, and even coding. Darktable edits the images non-destructively via a set of polished tools.
Important Features of Darktable
- Support for tags and ratings in the watermark module
- Read Xmp.exif.DateTimeOriginal from XMP sidecars
- Build and install noise tools
- Add a script for converting .dtyle to an .xmp
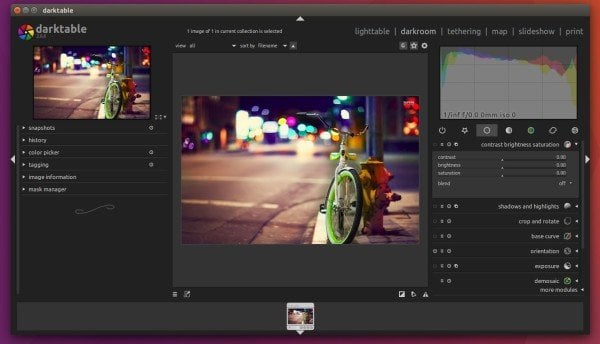
Screenshot


How to Install Darktable on Ubuntu
There are many ways to install the darktable photography app on Ubuntu Linux. Though it’s a multi-platform supported software, we will show you how to install it on Ubuntu only.
- Method 1: Install via Ubuntu Software Center
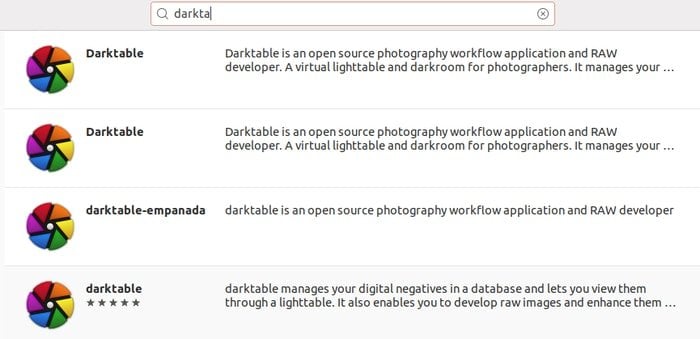
Darktable officially supports the Ubuntu software repository, so you can easily search it on Ubuntu or distro-specific software center and install it.

- Method 2: Install via Stable PPA
This software can be installed on Ubuntu via stable PPA. Open the Terminal and run the below command one by one:
sudo add-apt-repository ppa:pmjdebruijn/darktable-release
sudo apt-get update
sudo apt-get install darktable
After the first command, you will be asked to give the password. After typing the password, press Enter to continue.

How to Restore or Remove the Package
If you want to remove to restore the package into the repository stock version, run the following command into the Terminal:
sudo apt-get install ppa-purge
sudo ppa-purge ppa:pmjdebruijn/darktable-release
Run the below command for completely removing darktable from the system:
sudo apt-get remove --autoremove darktable
(Optional) To remove the PPA, launch “Software & Updates” utility and navigate to “Other Software” tab
If you like this tutorial, please share it with your friends in social media. And leave a comment if you face any problems during the installation or share your experience.
Note: The features mentioned here are not all-inclusive. The features mentioned are compiled either from their respective official websites or from my personal experience using them.


