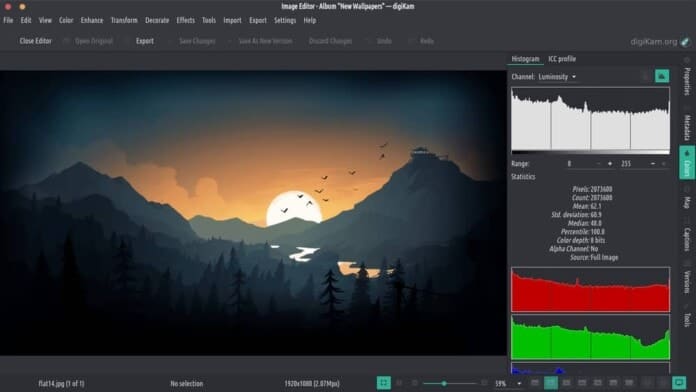
digiKam is yet another best photo management software for the Linux community. It’s fully free, open source, and comes with easy to use GUI. Besides photo management and metadata editing, it has the capability to do some basic image editing like Photoshop. So you can use it as Linux Photoshop Alternative software. digiKam is best for editing photos, bulk organizing images, processing RAW image files, etc. The interface also looks like Adobe Photoshop. Here I will show you how to install digiKam on Ubuntu Linux.
Features of digiKam
- More of photo management software rather than photo editing.
- Free open source photo management software.
- Import, organize, browse, and view images.
- Process and edit RAW images and share or publish them online.
- Import module supports delete, upload, lock, auto-rename, auto-rotate, auto-creation, etc.
- Users can add metadata and edit in bulk.
- Image sorting options via metadata, image information, tag, geolocation, etc.
Check out the full features list here.
How to Install digiKam on Ubuntu
There are some ways to install digiKam on Ubuntu Linux, which will be described here.
1. Install digiKam via Ubuntu Software Center
This is the easiest and most straightforward way to install digiKam on Ubuntu. digiKam provides an official repository through the Ubuntu software center. You just need to search digiKam and hit the install button.

Or else you can run the below command if not comfortable with the software center:
sudo apt-get install digikam
2. Install digiKam via AppImage
AppImage is relatively a new universal file format for installing software on any Linux distros. You can also download digiKam AppImage and run the software on Ubuntu or any Linux distros. In case you don’t know how to use AppImage, follow my previous tutorial on how to install software and AppImage on Ubuntu Linux.
3. Install digiKam via Unofficial Ubuntu PPA
This way is a bit risky as it’s an unofficial PPA repository. Run the below command to install digiKam:
sudo add-apt-repository ppa:philip5/extra
sudo apt update
sudo apt install digikam
There might be a small delay of the latest version in case you use unofficial PPA.
Is this tutorial helpful? Share it with your friends and family on social media. Let us know your experiences using digiKam in the comment section.


the versions from the software center are from the stone age! I can only get Version 4.5 – but current is 6.0.3!!!!!
Why dont they update????