Before learning of how to install LAMP on Ubuntu, I would like to share some basic information about it first. Before going to see this tutorial, you must know how to install MySQL and Apache web server in Ubuntu Linux because it will be required in the subsequent process of installing LAMP on Ubuntu. Ok, let’s start with LAMP. This software is a combination of few open source software. It is usually installed at a time for enabling a server to handle web apps as well as the dynamic website.
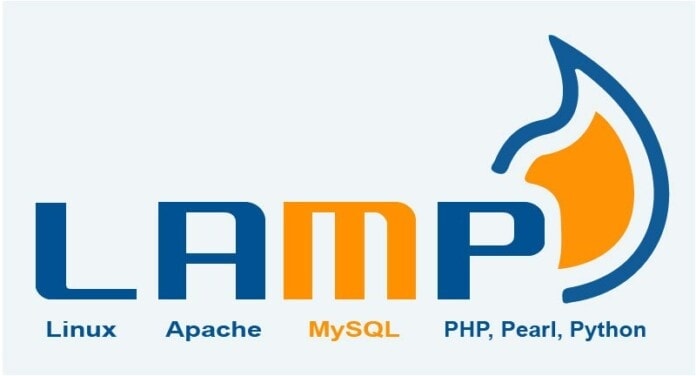
The combination of the LAMP is L-Linux operating system, A-Apache web server, M-MySQL database, P-PHP. In Apache web server installed in Linux operating system, MySQL database stores the site data, and PHP processes dynamic content. Here, I am going to show you how to install LAMP on Ubuntu.
Basic Requirements
Prior to going through the following steps, you need to have an individual a non-root user account having sudo privileges set up on the server to install LAMP on Ubuntu server.
- Installing Apache and Allowing in Firewall
In the world of web servers, Apache is the best and most used one. For excellent fastness, reliability, and security it became so dominant in this field, and it is used on 67% of all web servers. In the history of the web, Apache established itself as the best choice to the users. For more information about installing the Apache web server in Ubuntu, follow my tutorial to learn how to do that.
- Installing MySQL
We have installed a web server, and it is now in running condition. Now, MySQL is to be installed. It is a database management system which will organize and allow access to the database. Here, site information can be stored. Please follow my tutorial on how to install MySQL in Ubuntu Linux.
- Install PHP on Ubuntu
PHP is the setup component, and it will make code suitable to display the dynamic content. It is capable of performing multiple functions like running scripts, connecting to a MySQL database for collecting information, and delivering the processed content so that the web server can display it.
For installing our components, we can again leverage the “apt” system. Some additional helper packages can be installed to aid PHP code to run in the Apache server and respond to the MySQL database.
sudo apt-get install php libapache2-mod-php php-mcrypt php-mysql
This command will install PHP. During requesting a directory, we shall prefer the way that Apache serves files. Apache will search for a file called “index.html” when a user requests a directory. We want, our web server will give priority to PHP files. So, we will assign Apache to search an “index.php” file first.
To open “dir.conf” file, type the following in a text editor. While writing this keep it in mind to do with root privileges.
sudo nano /etc/apache2/mods-enabled/dir.conf
It will appear like this:
DirectoryIndex index.html index.cgi index.pl index.php index.xhtml index.htm
We want to replace the index file (highlighted above) to the position, immediate after DirectoryIndex specification, like the following.
DirectoryIndex index.php index.html index.cgi index.pl index.xhtml index.htm
Now, press “Ctrl-X,” save and close the file. By typing, “Y” you have to confirm the saving. Then press Enter to ensure the file save location.
Then, restarting of the Apache web server is needed to recognize the changes made. Use the following command to do this.
sudo systemctl restart apache2
Using “systemctl,” the status of the “apache2″ service can be checked.
sudo systemctl status apache2
- Install PHP Modules
For enhancing the functionality of PHP, some additional modules can be installed, and it is totally optional. To use the available options for PHP libraries and modules, the results of “apt-cache” search into “less” can be conducted.
apt-cache search php- | less
Arrow keys help scroll up and down. Pressing q, you may exit.
The results are optional installable components which will show a brief description of each.
libnet-libidn-perl - Perl bindings for GNU Libidn
php-all-dev - package depending on all supported PHP development packages
php-cgi - server-side, HTML-embedded scripting language (CGI binary) (default)
php-cli - command-line interpreter for the PHP scripting language (default)
php-common - Common files for PHP packages
php-curl - CURL module for PHP [default]
php-dev - Files for PHP module development (default)
php-gd - GD module for PHP [default]
php-gmp - GMP module for PHP [default]
…
To obtain more information about the function of each module, you can search the internet. Or, you can read the long description of the package which can be found with the following command:
apt-cache show package_name“Description-en” will have a detail explanation regarding the functionality provided by the module.
For example, using the following command, you can find out the function of “php-cli“ module.
apt-cache show php-cli
Using the “apt-get install” command, you can install a package if you feel it is needed to be done after researching. For example, to install “php-cli,” use the following command.
sudo apt-get install php-cli
If you want to install more than one module, use the following.
$ sudo apt-get install package1 package2 package3 ...Now, your LAMP stack is installed. It is also configured.
Concluding Thoughts
I hope you could able to install the LAMP stack in your system. This platform will let you install and test various web software and popular CMS on your local server which you have just installed using the LAMP. I also hope that this piece of the tutorial on how to install LAMP on Ubuntu is quite helpful? If so, please take time to share this content on your social media. And don’t forget to share your suggestion and experiences in the comment section.


