The Apache server is widely used for running servers and sites over the internet. If you own a distributed server where many administrators work together on the same project, you probably face problems keeping a record of who made the server changes. Here comes the Apache SVN server that you can install on your Linux machine to keep the log of your server’s activity and changes. It can maintain the login data, documentation data, source code, and other revisions.
The Apache subversion system allows users and contributors to make changes, add features, revise and modify the repository with keeping the change records. You can also backup, revert, override, update your repository and delete revisions through the Apache SVN tool.
Apache SVN Server On Linux
As Linux powers, most of the world’s servers, using the Apache Subversion (SVN) on Linux might help you keep a record of your software development, metadata revisions, and revises. The Apache SVN is free and open source under the Apache license. Using an SVN system, you can actually get your own repository to store, monitor, and make changes on your server system. The Apache SVN is compatible with both Linux and Windows. Even it allows you to control your own or your client’s server remotely. Here, we’ll see how to install and get started with the Apache SVN on a Linux system.
1. Install Apache SVN Server On Debian/Ubuntu Linux
Installing Apache SVN on a Debian/Ubuntu Linux requires root privilege and basic knowledge of Linux terminal commands. The Apache subversion is available on the official Linux repository. This method will guide you on how you can install and configure the Apache subversion on a Debian system.
Step 1: Install Apache on Ubuntu/Debian
As we’re going to install the Apache SVN under the Apache server, make sure that you have the Apache server installed on your system. If you don’t have it, you can run the following commands on your terminal shell to install the Apache PHP server. In the beginning, you might need to update your Linux repository.
sudo apt-get update
sudo apt-get install apache2

Step 2: Install SVN Server on Ubuntu/Debian
When the PHP server is ready, you can now run the following aptitude command on your terminal shell to install the Apache subversion and a few library functions on your system. I must note that the following command will update your existing PHP server modules, MySQL, XML, and other LAMP services. If you have Postfix installed on your system, it might update the Postfix as well.
sudo apt-get install subversion libapache2-mod-svn libapache2-svn libsvn-dev
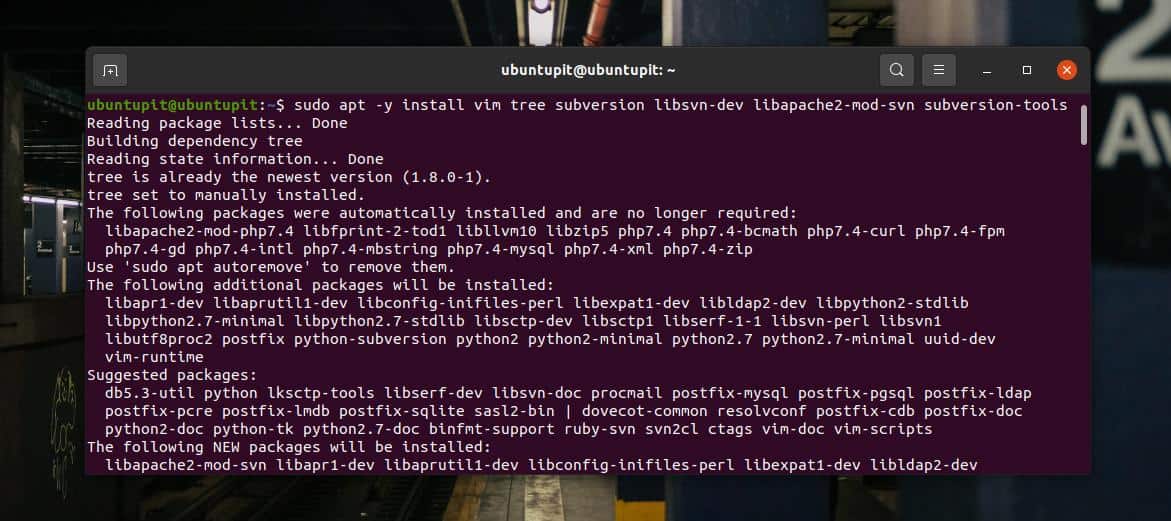
While the installation of the Apache SVN finishes, run the following commands on your terminal shell to enable and restart the subversion on your Linux system.
sudo a2enmod dav dav_svn
sudo service apache2 restart
Step 3: Create A SVN Repository on Linux
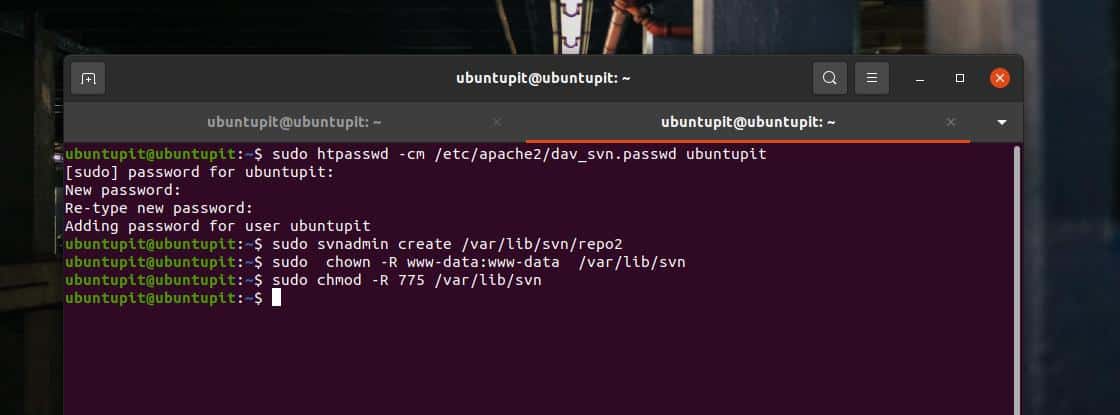
After installing the Apache SVN and enabling it on your system, you may now create a new directory to store your subversion log files and login files. Run the following mkdir command and svnadmin commands on your terminal shell to create a new repository directory.
sudo mkdir -p /var/lib/svn/
sudo svnadmin create /var/lib/svn/myrepo
Now, to avoid permission errors, run the following chown commands on your Linux shell.
sudo chown -R www-data:www-data /var/lib/svn
sudo chmod -R 775 /var/lib/svn
Step 4: Create Users for Subversion
As the Apache SVN records the log files and classified documents, you need to create an admin account to login into your Apache SVN system. First, run the following touch command on your terminal shell to create a password log file. Then run the htpasswd command to store user and password credentials.
sudo touch /etc/apache2/dav_svn.passwd
sudo htpasswd -m /etc/apache2/dav_svn.passwd ubuntupit
Here, I’ve used ‘ubuntupit‘ as my admin username, you may replace it with your own username. After creating the main admin account, you can also add other users for your Apache subversion system.
sudo htpasswd -m /etc/apache2/dav_svn.passwd user1
sudo htpasswd -m /etc/apache2/dav_svn.passwd user2
Step 5: Configure Apache/HTTPD with Subversion
After creating the repository and adding an admin user, you may now configure the Apache SVN settings on your Linux system. You can run the following command on your terminal shell to edit the dav_svn.conf file.
sudo nano /etc/apache2/mods-enabled/dav_svn.conf
After opening the file, make sure that your configuration script contains the following lines as it’s shown below. The below script contains the SVN path, repository location, and user credentials.
Alias /svn /var/lib/svn
<Location /svn>

DAV svn
SVNParentPath /var/lib/svn

AuthType Basic
AuthName "Subversion Repository"
AuthUserFile /etc/apache2/dav_svn.passwd
Require valid-user

</Location>
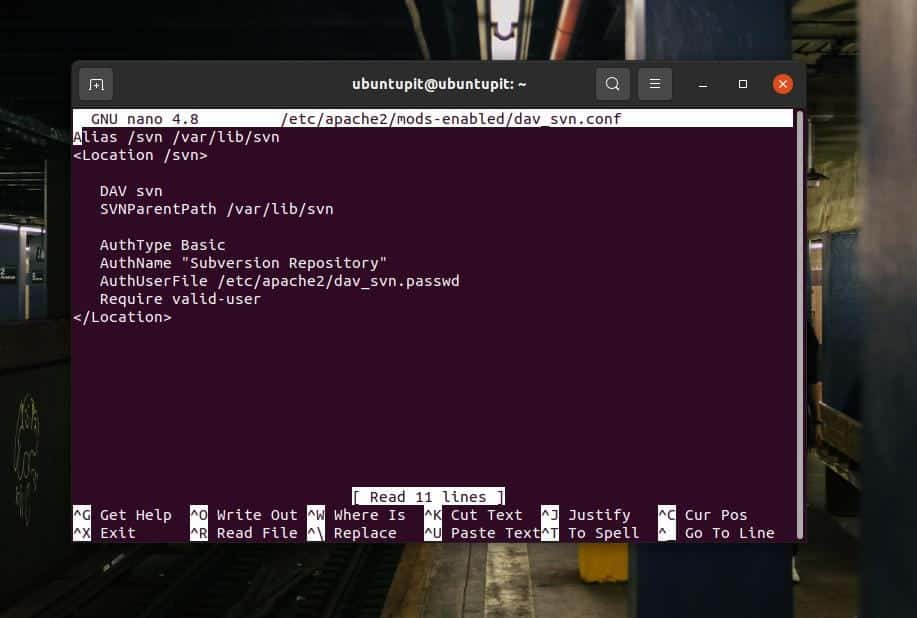
After editing the SVN configuration script, save and exit the file. Then restart the Apache services on your Linux machine.
sudo service apache2 restart
2. Install Apache SVN on Red Hat/Fedora Linux
If you have a Fedora workstation, you can install the Apache SVN on your system to monitor and revise your server repository. It’s not much different than installing the SVN on a Debian system. Here I’ll guide you on how you can install and configure the Apache Subversion on your Fedora or other Red Hat-based Linux system.
Step 1: SVN Installation on Fedora Workstation
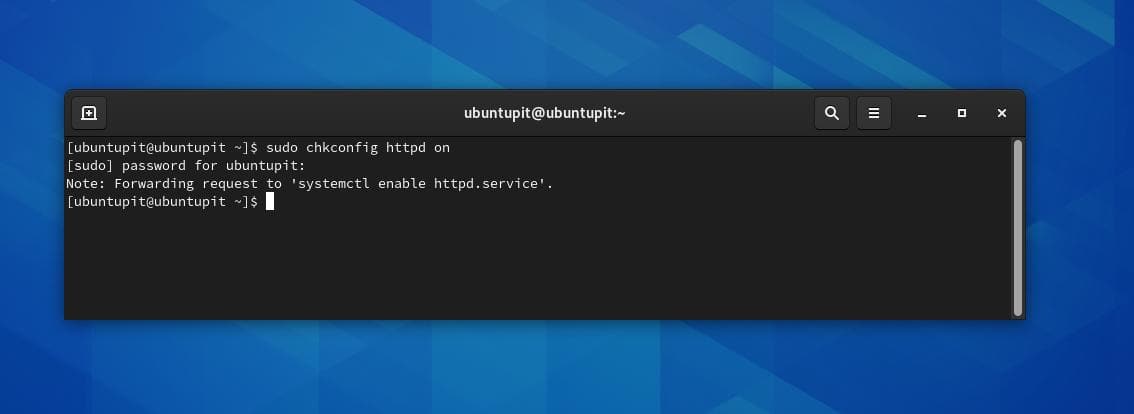
In the beginning, you need to update your Linux system to avoid repository issues. Then run a quick check to know if your system has the httpd (HTTP daemon) installed and responding.
sudo yum update
sudo chkconfig httpd on
Now, if your system has the Security-Enhanced Linux installed, you might need to disable it for installing the SVN service. You can run the following command on your terminal shell to open the SELINUX script.
sudo nano /etc/selinux/config
When the script opens, find the following SELINUX syntax and make the value disabled. Then save and exit the file.
SELINUX=disabled
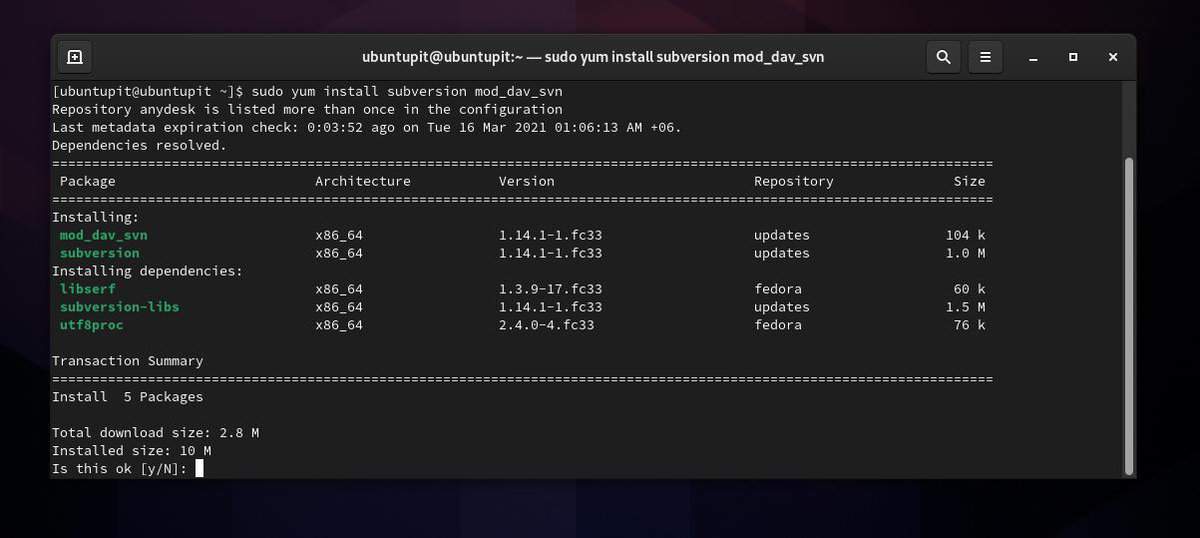
After updating and editing the SELINUX script, you may now run the following YUM command on your terminal shell to install the Apache SVN server on your Fedora Linux.
sudo yum install subversion mod_dav_svn
Step 2: Create And Configure A SVN Repository
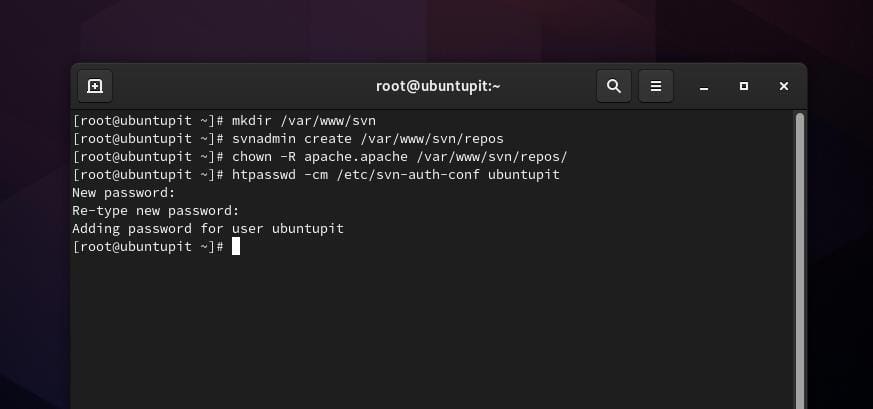
After installing the SVN server, you may now need to create a repository for the subversion service. You can run the following commands accordingly on your terminal shell to create an SVN directory, create a repository on your filesystem.
# mkdir /var/www/svn
# svnadmin create /var/www/svn/repos
After creating the SVN repository, run the chown command given below to give it root permission.
# chown -R apache.apache /var/www/svn/repos/
Step 3: Creating an Admin for the SVN Server
To create an administrative user account for the SVN server, you can run the following command on your terminal shell with root privilege. The command will ask you to give a new password for the account. You can note down the username and the password for future use.
# htpasswd -cm /etc/svn-auth-conf ubuntupit
New password:
Re-type new password:
Adding password for user ubuntupit
Step 4: Configure The Subversion Server on Fedora
After installing the SVN server and adding an Admin user, you may now run the following command to edit the SVN configuration file on Fedora/Red Hat Linux.
sudo nano subversion.conf
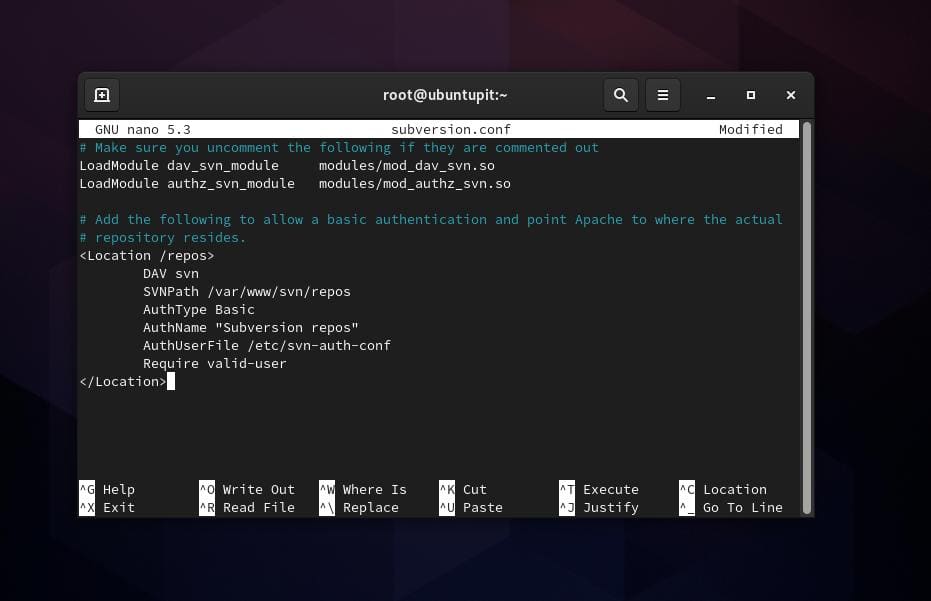
Now, make sure that your configuration script contains scripts as it’s shown below. If you have issues with the script, you can feel free to copy and paste the following script given below.
# Make sure you uncomment the following if they are commented out
LoadModule dav_svn_module modules/mod_dav_svn.so
LoadModule authz_svn_module modules/mod_authz_svn.so

# Add the following to allow a basic authentication and point Apache to where the actual
# repository resides.
<Location /repos>
DAV svn
SVNPath /var/www/svn/repos
AuthType Basic
AuthName "Subversion repos"
AuthUserFile /etc/svn-auth-conf
Require valid-user
</Location>
When the SVN script’s configuration finishes, don’t forget to restart your httpd services on your system. You can run any of the following commands to restart the Apache server on your Fedora Linux.
service httpd restart
/etc/init.d/httpd restart
Get Started with Apache SVN Server
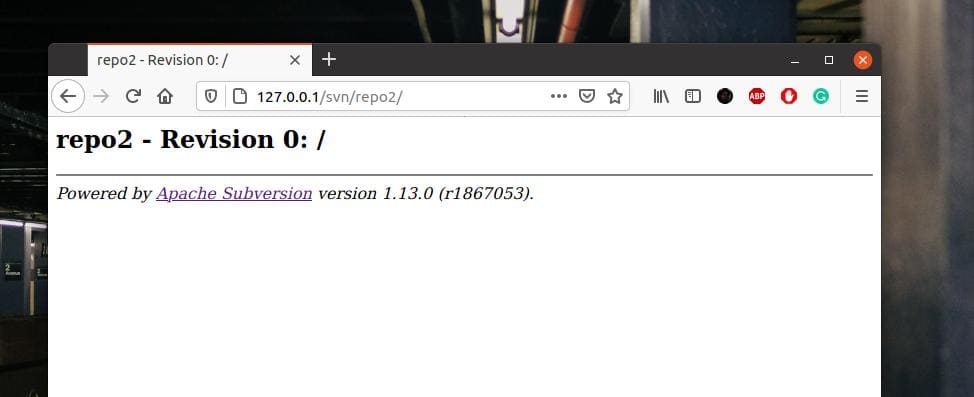
Till now, we’ve seen the procedure of installing and configuring the Apache SVN on the Debian and Fedora Linux systems. It’s time to test the Subversion system on our system. To load the ‘Subversion Repository’. To load the SVN on your browser, write your server’s IP address and add /svn/repo2/ then hit the Enter button.
Here, I’ve loaded the Apache server on the localhost address, and my repository name is ‘repo2’; don’t forget to replace those with your repository name and server’s IP address.
127.0.0.1/svn/repo2/
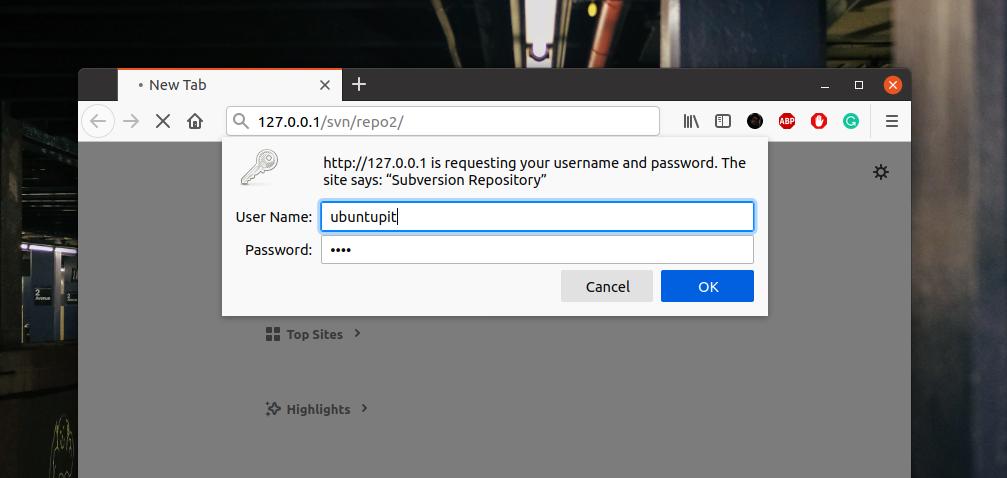
When the Subversion Repository loads, it will ask for your User Name and the password. Input your username and password that we’ve created earlier to log in to your SVN server. After a successful login, you will see the SVN server on your web browser.
Final Words
Initially, the Apache SVN was designed for software developers, but you can use it for your personal usages. In the entire post, I’ve described the methods of installing, configuring, and getting started the Apache SVN server on a Linux system. If you’re thinking about using the subversion with an Nginx server, in that case, I must say that you still might not find any ways to use SVN with Nginx without having the Apache installed on the same system.
Please share this post with your friends and the Linux community if you find it helpful and handy. You can also write down your opinions regarding this post in the comment section.
