Yarn is a great tool for handling javascript applications. It can handle the node.js and replace the Node Package Manager(NPM). All JavaScript programmers might already know that NPM is great for developing front-end and backend, but it has some cons that Yarn fixes. If you’re an old NPM user, you don’t need to about the replacement, and it works with the existing package.json files. If you’re a newbie on Yarn, this might inspire you to switch to Yarn; if I say that Yarn can cache and fetch almost everything, it takes tremendously less time than NPM to install any JS packages. Yarn can be a great handy tool to install, automate, and build javascript scripts. Using Yarn is not a complex task at all. You can install and use Yarn on your Debian/Ubuntu, Red Hat, or Fedora Linux system if you’re a Linux user.
Yarn on Linux Distributions
Using Yarn on a Linux machine is more comfortable because, in Linux, you can run the user-defined script, CLI, and APIs to make your javascript more efficient. Yarn locks the dependency tree that prevents you from messing with the files that you’ve done already, which is actually a great feature for programmers to save the code.
Usually, we describe the package installation tutorials distribution-wise, but we are making a change in this post. As Yarn is javascript tool and different JS tool and script allows installing Yarn, we’ll cover the Yarn installation method command-wise. In this post, we will see how to install Yarn on a Linux system and a few basic uses of Yarn.
1. Install Yarn on Ubuntu/Debian
Installing Yarn on a Ubuntu desktop is easy and straightforward. First, make sure that the system repository is up to date. Then run the following cURL command on your terminal shell to download the GPG key for Yarn on your machine. When the cURL ends, run the next echo command to download the Yarn package on your shell.
curl -sS https://dl.yarnpkg.com/debian/pubkey.gpg | sudo apt-key add -
echo "deb https://dl.yarnpkg.com/debian/ stable main" | sudo tee /etc/apt/sources.list.d/yarn.list

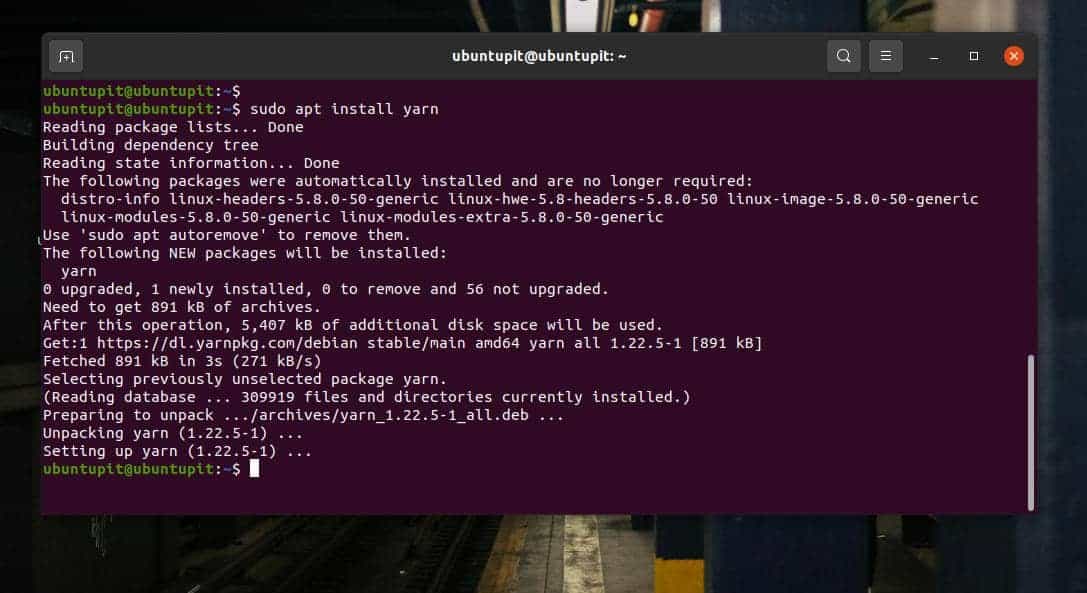
When the download finishes, run the following update command to update your repository, then executive the aptitude install command to install the Yarn tool on your Debian Linux system. When the installation ends, check the Yarn version to ensure your installation is right.
sudo apt update
sudo apt install yarn
yarn --version
2. Install Yarn on Fedora/Red Hat Linux
Those who are Fedora or Red Hat-based Linux users can follow this step to get Yarn on your system. First, run the following cURL command to download the Yarn RPM packages from the Yarn repository.
curl -sL https://dl.yarnpkg.com/rpm/yarn.repo -o /etc/yum.repos.d/yarn.repo
If you’ve any issues using the above cURL command to load Yarn, you can try using the below-mentioned command. The command will allow you to use the NodeJS on the system.
curl --silent --location https://rpm.nodesource.com/setup_12.x | sudo bash -
dnf module install nodejs:12
When the download finishes, run the following YUM or DNF command on your shell with root access to install Yarn on your Linux system.
sudo yum install yarn
sudo dnf install yarn
3. Install Yarn on Arch Linux
If you’re using an Arch and Arch-based Linux system, installing Yarn on the system is a piece of cake. First, run the following Pacman commands on your terminal shell to update and refresh the repository.
sudo pacman --sync --refresh
pacman -Syu
Now, run the Pacman command with root access to install Yarn on your machine.
pacman -S yarn
When the installation is done, run a quick version check command to know if the tool was installed correctly or not.
yarn --version
4. Install Yarn using NPM
If you’re an experienced JavaScript programmer and have the NPM tool installed on your system, the following command will allow you to get the Yarn tool.
sudo npm install yarn -g
If you find issues using the above NPM command, please try the below-mentioned command to install the Global version of Yarn on your Linux machine.
npm install --global yarn
When NPM finishes pulling the Yarn tool, run a version check command to ensure that Yarn is installed successfully.
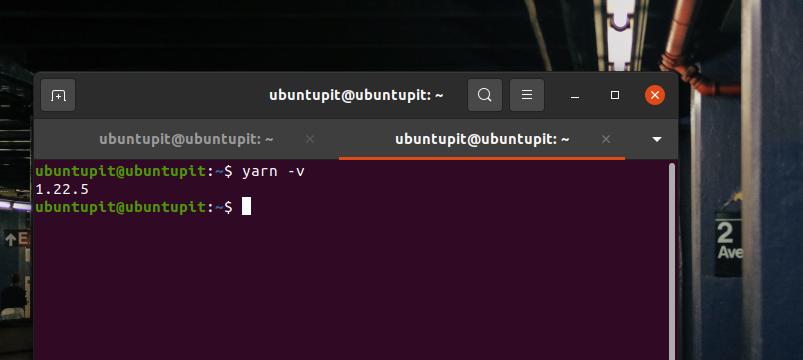
yarn -v
5. Install Yarn using Script
Of course, as Yarn is a programming tool, there are options to get it through the script. This method will be executable for all major Linux distributions. But before you run the command on the shell, make sure you have the cURL installed on the system.
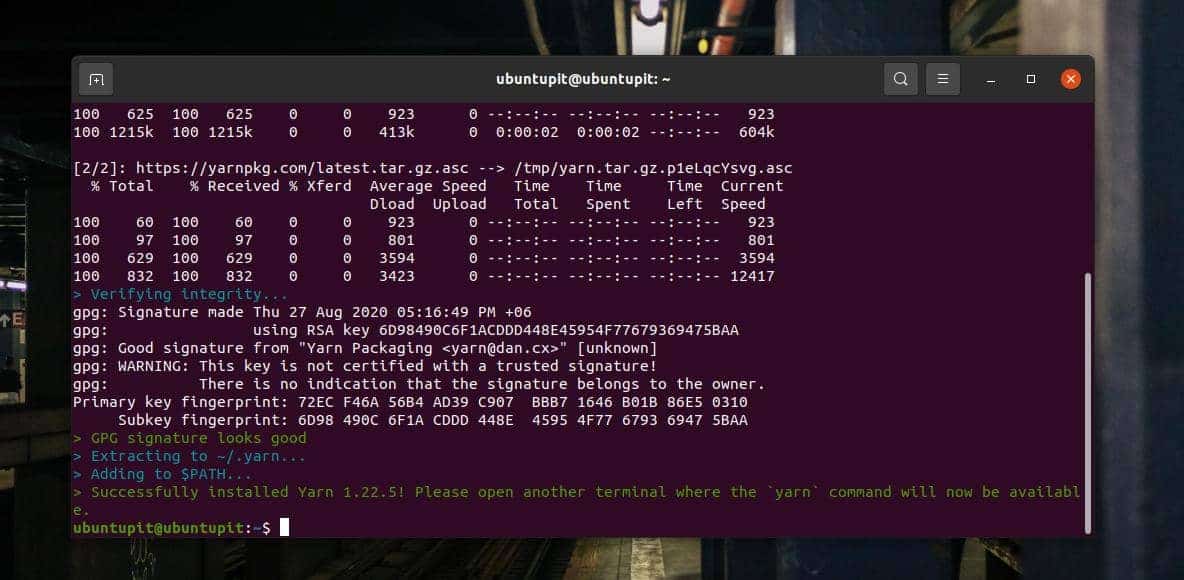
curl -o- -L https://yarnpkg.com/install.sh | bash
Using Yarn on Linux
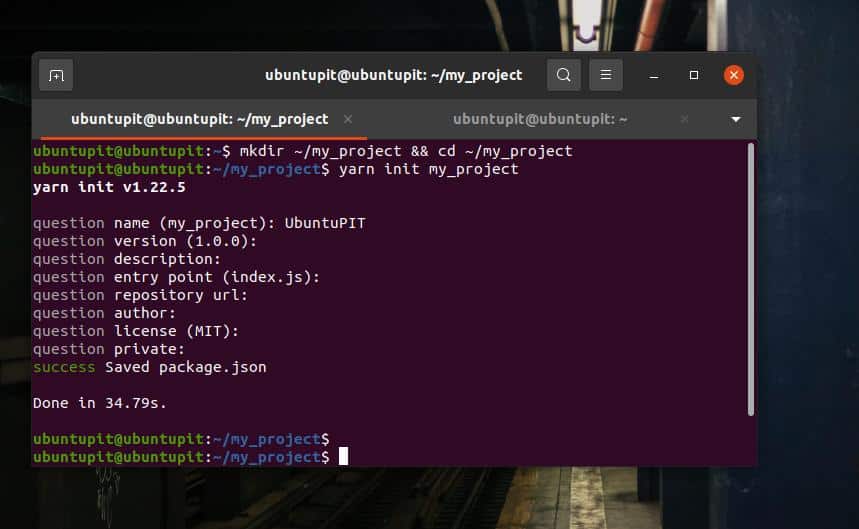
Till now, we’ve seen methods of installing Yarn on a Linux system. It’s time to get started with Yarn. When we’re done installing Yarn, we can instantly start using it on our computer. You can try making a new project directory for the new JS project and export Yarn on it for starters.
mkdir ~/my_project && cd ~/my_project
yarn init my_project
If you need to add a package dependency through Yarn, use the following ‘add’ command to get it. I must mention, Yarn replaces the NPM’s ‘install’ command with the ‘add’ command. Using the ‘add’ command is smooth; it doesn’t take a long time like NPM to load packages.
yarn add [package_name]
yarn add package.json
package.json and yarn.lock
In the same way, if you need to upgrade any package, follow the below-mentioned format to update. First, upgrade Yarn, then use Yarn to upgrade all your packages.
yarn upgrade
yarn upgrade [package_name]
yarn upgrade [package_name]@[version_or_tag]
Removing package dependency from your JS is now easier with Yarn. Use the following Yarn command format to remove dependencies from your system.
yarn remove [package_name]
Final Words
Yarn is a straightforward plug-and-play application for developing JavaScript programs. It supports CLI, API. Though debates are running on Yarn vs. NPM, there is no harm in trying new tools and software for productivity. In this post, I’ve described several methods of installing Yarn on a Linux system. Please use any of them that suits your system most.
I hope this post has been informative for you; please share this post with your friends and the Linux community. You can also write down your opinions in the comment section regarding this post.
