The FFmpeg is a popular media library function that you can install individually or alongside a media player on your Linux system. This tool was initially created under the Linux project, but now available for Mac and Windows OS also. The FFmpeg tool is a formation of two media codec packets, which are the FF and the MPEG. The FF is the short form of Fast Forward, and the MPEG is the acronym of Moving Picture Experts Group.
You can directly use the FFmpeg tool on your Linux system through the command-line interface to convert, cut, join, and compress media files. You can also use it for live streaming or feeding live media into a server.
FFmpeg on Linux Distros
The FFmpeg tool is written in the C programming language. It has the GNU GPL privacy license and available for GNU and Linux-based distributions. The FFmpeg functions with a demuxer, muxer, decoder, and an encoder that processes the input files and produces an output file of the media file.
As FFmpeg is a famous and effective media library, many well-known media players and media conversion tools already use the library function of the FFmpeg tool inside their software. In this post, we will learn several methods of how you can install and get started with the FFmpeg tool on your Linux system.
1. Install FFmpeg on Debian/Ubuntu Linux
Installing the FFmpeg tool on a Debian/Ubuntu Linux is a straightforward process. There are a few methods available that you can use to install the FFmpeg tool on your Debian distributions. Here, we will cover both the graphical user interface (GUI) and the command-line based (CLI) method of installing the FFmpeg on the Debian Linux.
Method 1: Install FFmpeg on Debian Linux via the Linux Universe Repository
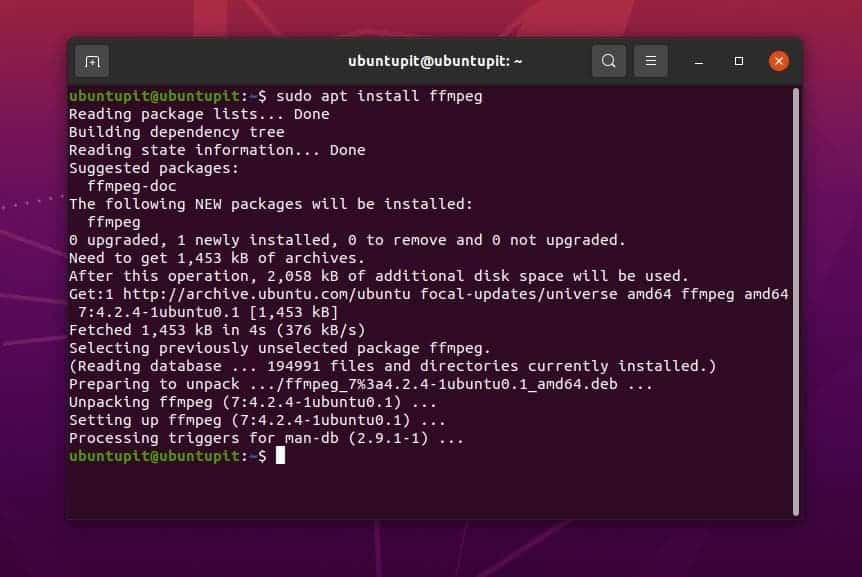
You can install the FFmpeg tool through the official repository of Linux. You have to run the following aptitude command given below on your terminal shell to install the FFmpeg framework on your Ubuntu, Kali Linux, Linux Mint, and other Debian based Linux distributions.
sudo add-apt-repository universe
sudo apt update
sudo apt install ffmpeg
Method 2: Install FFmpeg by Downloading the .deb Package
In this method, we will see how you can install the FFmpeg framework by downloading the .deb file for Debian distributions. It is the easiest way to install any package on Debian/Ubuntu. Here, you can find and download the compiled Debian package of the FFmpeg tool on the official website of FFmpeg. Once the download is done, open the directory where you stored the file. Normally the file is stored inside the Home or the Downloads directory.
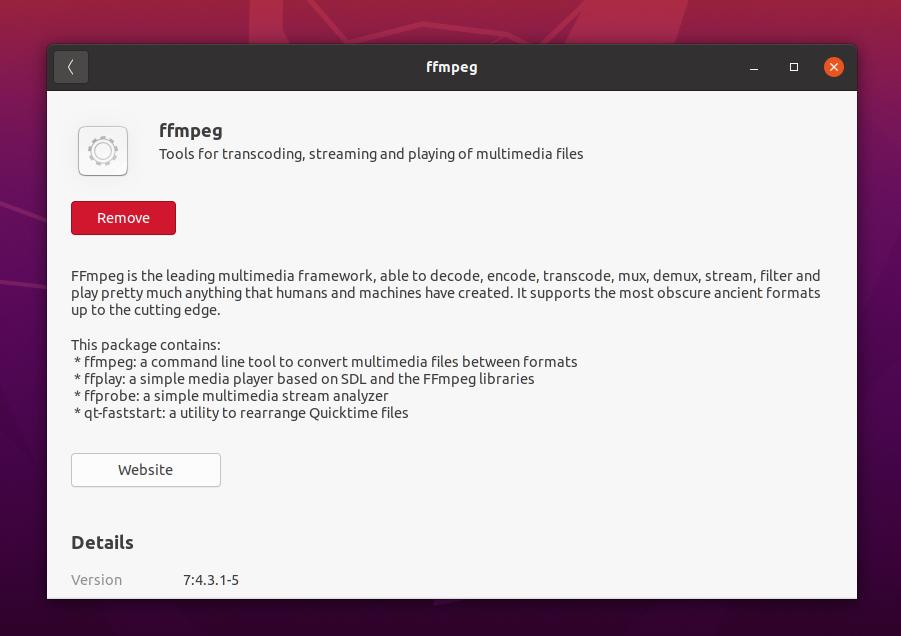
Now, right-click on the Debian package and open it with the default Software Store of Ubuntu. Then click on the install button and proceed with your root password. There you go, the ‘Fast Forward Moving Pictures Expert Group’ tool is now installed inside your Ubuntu system.
Method 3: Install FFmpeg via the PPA Repository on Debian Linux
Installing packages via the Personal Package Archives (PPA) repository is an excellent method of installing the latest version of any package on Debian based Linux distributions. Despite having the official repository, you might need to use the PPA repository to fix any broken package or get the beta version of a package.
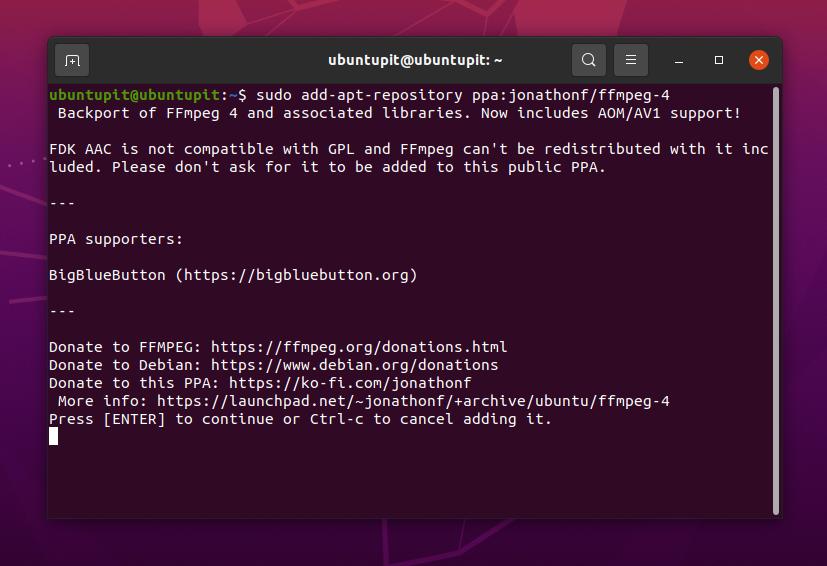
However, you can use the following PPA command-lines given below to install the latest version of the FFmpeg tool on your Debian-based Linux system.
sudo add-apt-repository ppa:jonathonf/ffmpeg-4
sudo apt update
sudo apt install ffmpeg -y
Method 4: Install FFmpeg on Ubuntu via Snap
Since Canonical is officially supporting the Snap store for Ubuntu, you can use the Snap store or the Snap command-line to install the stable version of the FFmpeg tool on Ubuntu Linux. Run the following snap commands given below to install the FFmpeg tool on your Ubuntu system.
Before running the command-line, ensure that your system has the Snapd (Snap Daemon) installed and integrated with your Ubuntu system.
sudo apt update
sudo apt install snapd
sudo snap install ffmpeg
ffmpeg -version

2. Install FFmpeg on RedHat and Fedora Linux
The FFmpeg tool and the library functions are available on the official repository of Fedora and Red Hat Linux. You can install and configure FFmpeg on Linux to connect your local media server with another server via API. Here, we will see the CLI and GUI method of installing the FFmpeg tool on the Fedora and the Red Hat-based Linux system.
Method 1: Install FFmpeg on Fedora/RHEL via CLI
If you are a Red Hat or a Fedora Linux user, you can use the following command-lines given below to install the FFmpeg tool on your system. Fedora Linux users need to run the following DNF command on the terminal shell to install the FFmpeg tool.
sudo dnf install ffmpeg

If you find any issues while installing the FFmpeg package on your Fedora Linux, you can run the following DNF commands given below to active the RPM fusion packages and install the FFmpeg tool on your system.
$ sudo dnf install https://download1.rpmfusion.org/free/fedora/rpmfusion-free-release-$(rpm -E %fedora).noarch.rpm https://download1.rpmfusion.org/nonfree/fedora/rpmfusion-nonfree-release-$(rpm -E %fedora).noarch.rpm
$ sudo dnf install ffmpeg ffmpeg-devel
On Red Hat Linux Enterprise, you might need to install the EPEL packages on your system to install the FFmpeg package. Red Hat Linux users need to run the following YUM commands on the terminal shell to get the FFmpeg tool.
sudo yum install epel-release
sudo yum install ffmpeg
Method 2: Install FFmpeg on Fedora/RHEL by Downloading the rpm Package
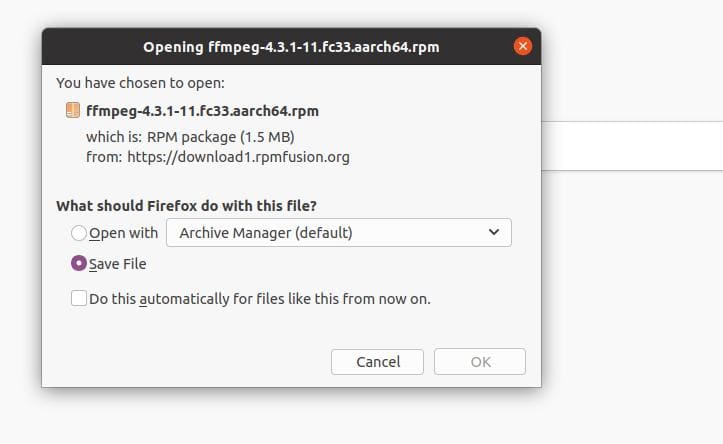
Here, I’m mentioning the Red Hat and Fedora together because both distributions support the. rpm package to install packages. You can download the rpm package from here. Once the downloading is done, open the download directory and open the rpm file with your default software store. Then click on the install button and proceed with your root password.
3. Install FFmpeg on Arch Linux
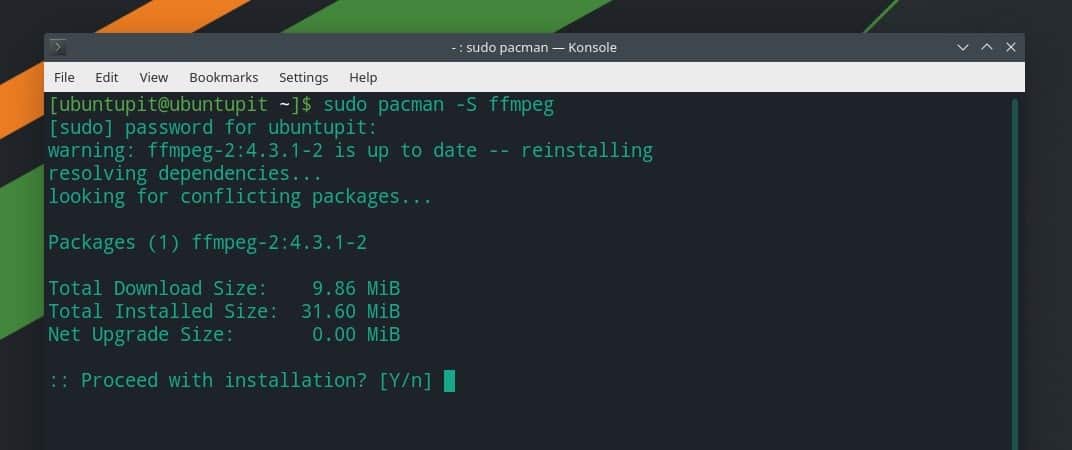
If you are an Arch and Arch-based Linux user, you can simply install the FFmpeg tool on your Linux system by running the following Pacman commands given below. Here, I’m using the Manjaro Linux to demonstrate installing the FFmpeg tool on am Arch distribution. The following Pacman commands are executable on other Arch Linux distributions as well.
sudo pacman -S ffmpeg
ffmpeg -version
However, if you have the VLC media player installed inside your system, you can also get the FFmpeg extension for the VLC player on your Arch-based Linux system.
pacman -Sy vlc
pacman -R ffmpeg4.0
pacman -Su
Get Started With the FFmpeg Tool
Till now, we have seen the methods of installing the FFmpeg tool on Linux distributions. We will now see a few use cases of the FFmpeg tool that you can execute on a Linux system to convert, export, and compress media files.
1. Start and Check the Encoders and Decoders
After installing the FFmpeg tool on your Linux system, you might need to check whether the tool is installed correctly or not. You can directly run the FFmpeg tool from the terminal shell by typing the package name.
ffmpeg
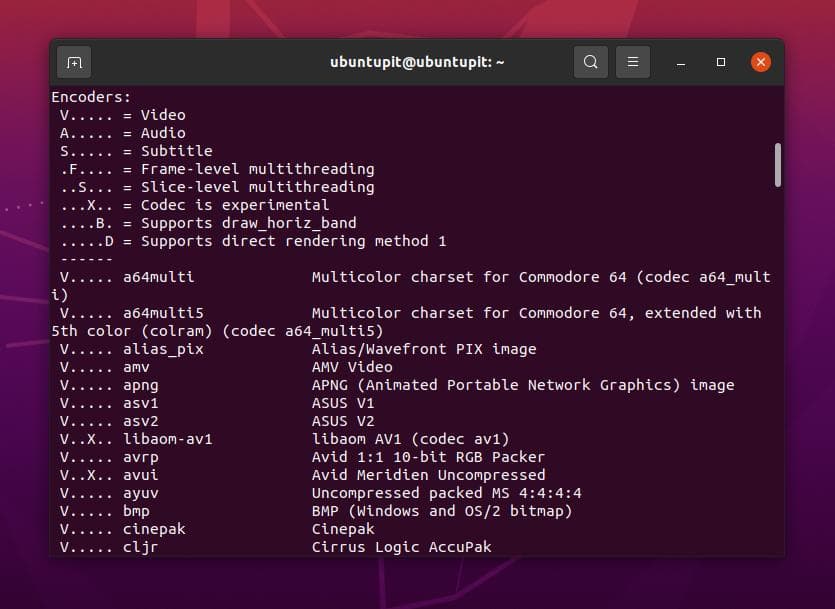
You can also check the list of the encoders and decoders that the FFmpeg tool uses.
ffmpeg -encoders
ffmpeg -decoders
2. Convert Media Files via FFmpeg
Converting media files on a Linux system is now easier. You don’t need to install an individual media conversion tool to convert audio and video files if you install the FFmpeg tool on a Linux system.
Run the following command given below to convert a video file through the FFmpeg tool. You can convert Mp4, Flv, Avi, and other video files through the FFmpeg tool. Make sure that you have entered the path of your media files correctly.
ffmpeg -i /home/ubuntupit/Videos/new_video.mp4 output.avi
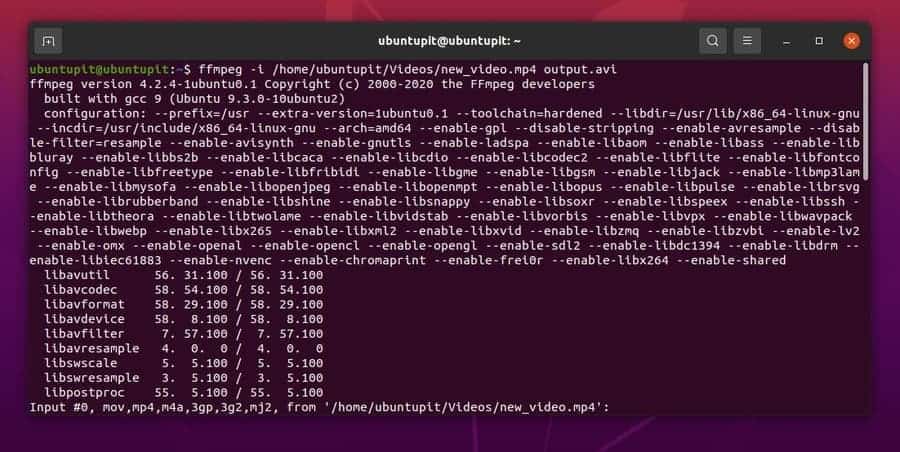
In the same way, you can run the following command-line on your terminal shell to convert audio files. Here, I will convert an Mp3 file to an Ogg file, and you can choose other audio file extensions.
ffmpeg -i /home/ubuntupit/new_audio.mp3 output.ogg
3. Extract Audio by the FFmpeg Tool
Extracting audio and video from media files is important for visual editing. You can now use the FFmpeg tool on your Linux system to extract audio and video files without the help of any other third-party tools.
Follow the command-line given below to extract an audio file from a media file.
ffmpeg -i /home/ubuntupit/video.mp4 -vn audio.mp3
Follow the command given below to extract the video from a media file.
ffmpeg -i /home/ubuntupit/video_input.mp4 -an -video_output.mp4
4. Set the Resolution or Screen Size of Media Files
The FFmpeg tool allows you to set and reset the display resolution of your video file via the terminal command shell. You can set the customized display resolution of your multimedia file through the FFmpeg tool. You can go through the command-line given below to understand the formation of setting up the video resolution.
ffmpeg -i /home/ubuntupit/video_input.mov -s 1024x576 video_output.mp4
Final Words
Despite being a media library tool, it’s more than just a library function; it’s a media framework. You can also use the FFmpeg library with the Audacity tool to do some professional work on audio files. In the entire post, I have described the conventional methods of how you can install, configure, and use the FFmpeg tool on your Linux system. However, FFmpeg is an open-source media library tool; you can also install it from binary packages/source code and synaptic package manager.
If you find this post useful, please share it with your fellows and the Linux community. You can also write down your opinions regarding this post in the comment section.
