The Xrdp server is the RDP tool (Microsoft Remote Desktop Protocol) for Linux distributions. You can install it on your Linux system to connect your server or desktop over the internet. The Xrdp server lets you use the multi-channel connection through a graphical user interface (GUI). Besides these, the Xrdp server allows you to connect and restart sessions if your connection gets lost. If you are a network engineer or a Linux system administrator, you can install the Xrdp server on your Linux system and access your server or desktop from anywhere over the internet.
XRDP Server on Linux
In Linux, the SSH connections via the Xrdp are secure and safe. It creates an RSA key to make your connection secure. The Xrdp server allows users to use the clipboard and audio features online.
Logging into your Linux system is faster through a secure Xrdp server; it also allows you to log into your Linux server via the terminal shell. The Xrdp server allows Windows users to login into the Linux server via the remote server tool. In this post, we will see how to install the Xrdp server on your Linux system.
Step 1: Install Linux Desktop Environment on Your Server
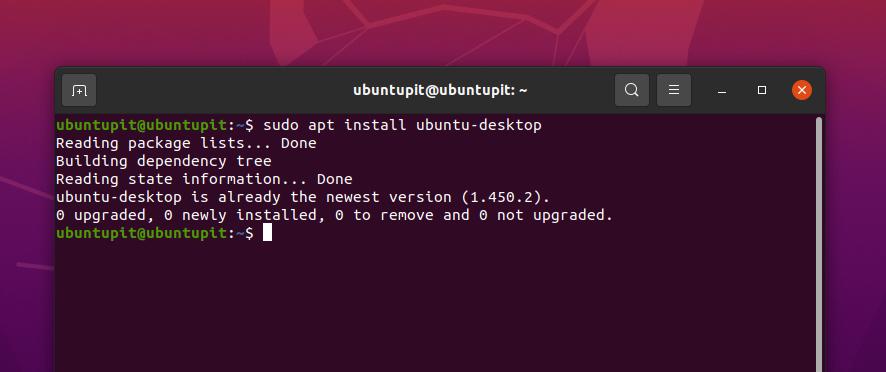
If you are using a Linux server; probably, you might need to get a desktop environment installed on your system to use the Xrdp server on your machine. You can use the Gnome DE or the Xfce desktop environment on your Linux server. Here, I am using a Gnome desktop environment on my Ubuntu machine.
However, run the following command lines given below to install your desired desktop environment on your server.
Install Gnome DE on Ubuntu/Debian Server
sudo apt install ubuntu-desktop
Install Xfce DE on Ubuntu/Debian Server
sudo apt update
sudo apt install xfce4 xfce4-goodies xorg dbus-x11 x11-xserver-utils
Step 2: Install XRDP Server
After you have got a desktop environment on your system, you may now install the Xrdp server on your Linux system. Here, we will see how to install the Remote Desktop Protocol on Ubuntu/Debian, SuSE Linux, RedHat, and Fedora Linux.
1. Install the Xrdp server on Ubuntu Linux
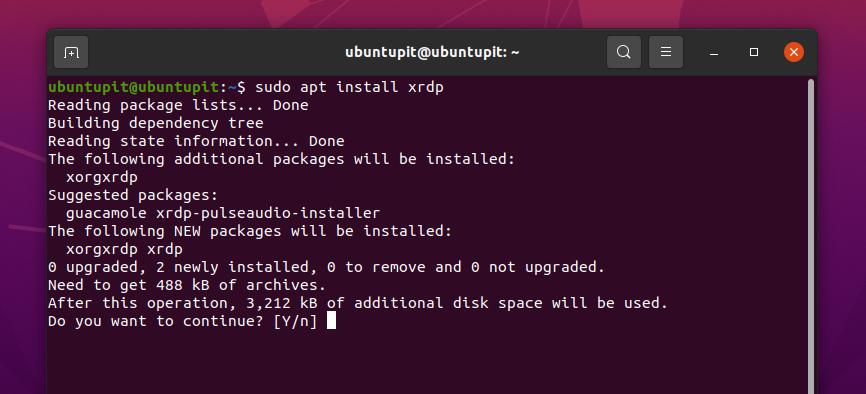
Installing the Xrdp server on a Debian or Ubuntu system is straightforward. You can install it through the universal package repository of Ubuntu. You can run the following aptitude command below to install the Xrdp server on your Ubuntu system.
sudo apt-get install xrdp
The installation will generate a 2048-bit RSA key to make your SSL connection secure and safe. Once the installation is finished, you can close the terminal shell.
2. Install Xrdp Server on Fedora/Redhat Linux
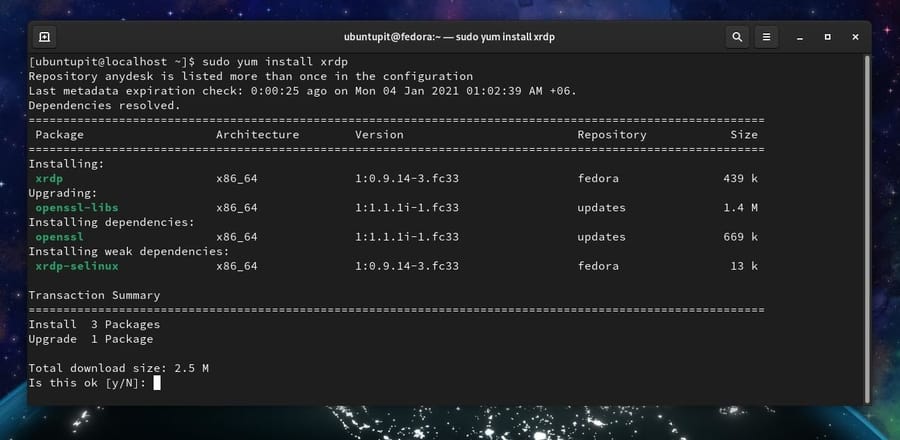
If you are a Fedora or Red Hat Linux user, you can install the Xrdp server on your system by running the YUM package management commands. The YUM command works on both Fedora and Red Hat Linux.
First, install the EPEL release on your Red Hat-based system. Now, run the following YUM below as a superuser on your terminal shell to get the Remote Desktop Protocol on your Linux system.
yum install epel-release
yum install xrdp
3. Install Xrdp on SuSE Linux
Very few people use SuSE Linux to run a server. If you have the SUSE Linux Enterprise Server for SAP installed on your machine, you can get the desktop environment for your system. Then run the following zypper command below on your terminal shell with root access to install the Xrdp server on your SuSE Linux.
zypper install xrdp
Configure the Xrdp Server
Till now, we have seen how to get the Xrdp server on various Linux distributions. It’s now time to configure and get started with the tool on your Linux system. Here, we will see how you can enable the remote desktop server, check the Xrdp server’s status, and log in to your system remotely through the server. We will also see the firewall configuration settings and some basic commands of the Remote Desktop Server Protocol.
By default, the remote desktop server is installed inside the etc directory of your Linux file system. You can find the configuration files in the /etc/xrdp directory. If you need to edit or customize any settings, you can edit the xrdp.ini file.
1. Check the status of the Remote Desktop Server
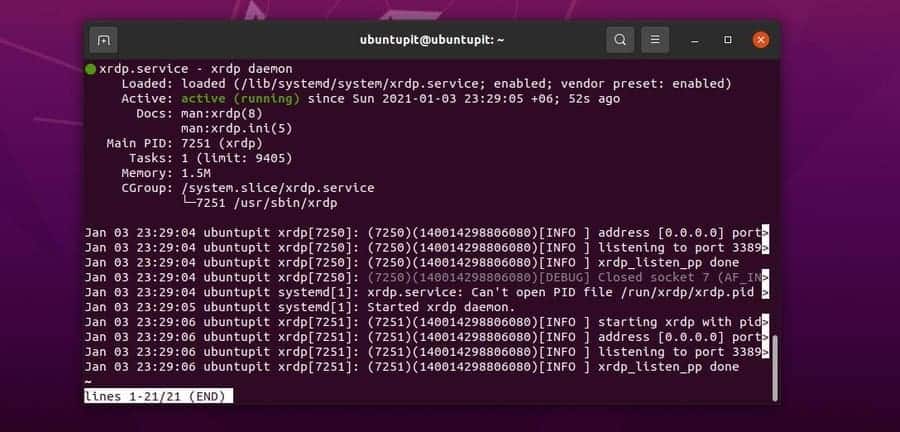
After installing the remote desktop server on your system, the first thing you might want to do is check the status of the remote desktop server. Here, I am showing you how you can check the status of the Xrdp server. Run the following system control command given below with root permission to monitor the tasks, memory usage, PID, and activation status of the remote desktop server on your Linux system.
sudo systemctl status xrdp
2. Add User on the Xrdp Server
By default, the Xrdp server adds the current user of a Linux system. If you have multiple users on your system, you can add users to the server’s list to use the remote desktop server. The public and private pair of encryption keys are stored inside the /etc/ssl/private/ssl-cert-snakeoil.key file. You should not delete or damage that file.
Now, run the following add user command on your terminal shell to add another user to your Xrdp server.
sudo adduser xrdp ssl-cert

3. Enable the Xrdp Server
When the remote desktop server is installed on your machine, it might not start automatically. You need to enable and start the remote desktop server manually. You can run the following system control command lines below to enable and start the Xrdp server.
sudo systemctl enable --now xrdp
systemctl start xrdp

4. Configure Firewall for Xrdp Server
As the Xrdp server works over the internet connection, you need to get firewall permission to run the server without having any troubles. As Linux-based operating systems use different firewall tools on different distributions, I will show how you can configure the firewall settings for a few common firewall daemons. The Xrdp server uses port 3389 and TCP port.
Firewall Settings on Ubuntu Linux
As the Debian Linux distributions use the UFW firewall tool to manage the incoming and outgoing networks, we will see how to configure the UFW firewall for the Xrdp server on Ubuntu Linux. Before running the UFW commands, ensure the UFW tool is enabled on your Ubuntu system.
Now, run the following UFW commands below on your terminal shell with root privileges to allow the 3389 port on your system.
sudo ufw allow from 192.168.33.0/24 to any port 3389
sudo ufw allow 3389
Firewall Configuration on Fedora/RedHat Linux
If you run the Fedora or Red Hat Linux distributions on your machine, you might have to use the Firewall tool to configure the network parameters. You can run the following firewall commands below to enable the 3389 port on your Red Hat-based Linux system. Then, reload the firewall daemon on your system. Make sure that you have root privileges on your system.
firewall-cmd --permanent --add-port=3389/tcp
firewall-cmd --reload
Firewall settings on SuSE Linux
On the SuSE Linux system, configuring firewall settings is a tad different than other Linux distributions. You have to edit the firewall configuration script to add or deny any network port on your system. On SuSE Linux, the firewall settings are stored inside the /etc/sysconfig/ directory.
First, you have to open the configuration script and then add your desired network parameters. Run the following command on your terminal shell with root privileges to edit the firewall script.
/etc/sysconfig/SuSEfirewall2.d/services/
Now, add the following line inside the configuration script.
Name: Remote Desktop Protocol
TCP="3389"
Now, open the firewall configuration script from the following path and add the FW settings given below.
Open the firewall script from the following path.
/etc/sysconfig/SuSEfirewall2
Now, add the following script inside the script. Then save the script and exit.
FW_CONFIGURATIONS_EXT="xrdp"
FW_CONFIGURATIONS_DMZ="xrdp"
FW_CONFIGURATIONS_INT="xrdp"
Finally, restart the firewall settings and the Xrdp server on your SuSE Linux.
systemctl restart SuSEfirewall2
sudo systemctl restart xrdp
If you are using the IP Table-based firewall management tool, you can use the following command lines to configure the firewall settings.
sudo iptables -A INPUT -p tcp --dport 3389 -j ACCEPT
sudo netfilter-persistent save
sudo netfilter-persistent reload
5. Log in to Your System
After installing the Xrdp server and configuring the firewall settings on your Linux system, it is time to log in to your system using the remote desktop server. To login into your system, you need to know the IP address of your system. To find out the IP address of your system, you can run the following command line below on your terminal shell.
ip address
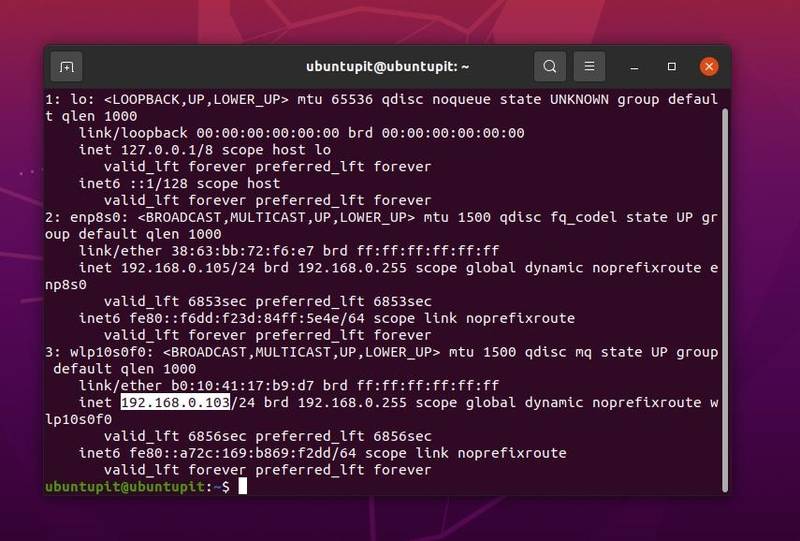
Now, to log in to your system through the remote desktop server, you need to know the username of your system and the IP address. Run the following SSH command on your terminal shell to log in to your system from a Linux machine. Don’t forget to replace the username and the IP address with yours.
ssh [email protected]
6. Set the Xrdp Server on Startup
If you need to use the Xrdp server regularly, you can add the Xrdp server to your startup application list. Run the following command line given below on your terminal shell to add the Xrdp server to your system’s startup application list.
sudo ln -sf /lib/systemd/system/runlevel5.target /etc/systemd/system/default.target
7. Connect the Xrdp from Windows Machine
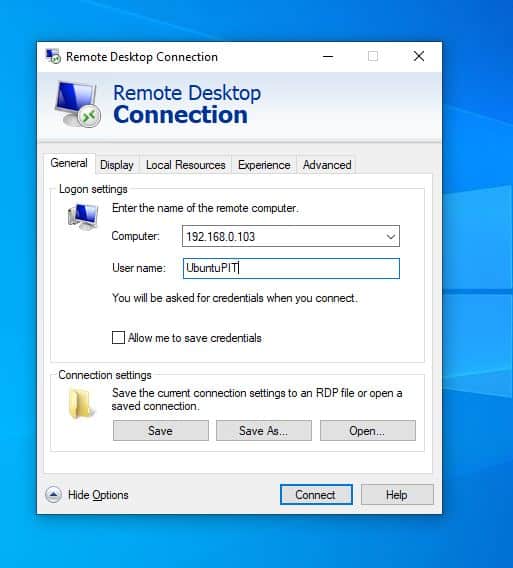
If you need to login into your Linux system through a Windows machine, you can find the Remote Desktop tool on the application list of the Windows operating system. To find the remote desktop tool on a Windows system, open the Start menu and type ‘Remote Desktop’, then open the application with the administrative power.
Then a new dialog box will appear; put your login credentials inside the remote desktop tool and click on the Connect button.
Final Words
Installing and using the xrdp server on a Linux system is a simple process. In the entire post, I have described installing, configuring, and using the Xrdp server to connect your Linux system remotely. If you use an Arch-based Linux system, you might not need to install the Xrdp server manually. Here, you can find how to enable and use the Xrdp server on the Arch Linux system.
If you find this post useful and informative, share it with your friends and the Linux community. You can write down your opinions regarding this post in the comment section.

WOW Nice introduction . simple fast and it works so proper – Thanks für this short Intro – its the Base-Knowledge for more….
Unfortunately, I cannot connect to an Oracle Linux 9 (REHL clone) using this guide. When time comes to connect with Windows remote desktop, I get a warning about a certificate and then, nothing. Logs tell nothing helpful.