Installation of the PostgreSQL database is the first step to move one step ahead towards the open source world of the database. pgAdmin and PostgreSQL are both interconnected with each other by the core system of which is installed inside the machine.
PostgreSQL database is an open-source and object-relational database system. PostgreSQL has a graphical user interface (GUI) admin control for the database management named pgAdmin. pgAdmin is a design and management interface for the PostgreSQL database. Simple database, datasheets, and operations can be done with pgAdmin by interacting with the local filesystem of the database allowed by the user.
PostgreSQL Database
Structured Query Language (SQL) is a programming language that is used to analyze, manage, and maintain a database. SQL can do join, union, insert between two or more databases. Some database engines are used to do the database program. They are Oracle, MySQL, Microsoft SQL Server, PostgreSQL, MongoDB, IBM DB2, etc.
Among the above database engines (DB engine), PostgreSQL is the most user-friendly and open source based free database engine. PostgreSQL is also simply known as Postgres. Postgres is a free Relational Database Management System (RDBS), which can be used to maintain a variety of workloads. Postgres can handle single machines to data warehouses or Web services with many concurrent users.
In this post, we are going to learn how to install PostgreSQL and pgAdmin in Ubuntu as well as in all other Linux distributions.
Step 1: Installation of PostgreSQL Database
PostgreSQL database is an open-source application. So it is available on the web, which is free to use. No subscription fee is charged to purchase PostgreSQL. In Linux, PostgreSQL can be installed with the apt packaging system. So, to install the PostgreSQL database, the following command lines will be run in the terminal.
sudo apt-get update
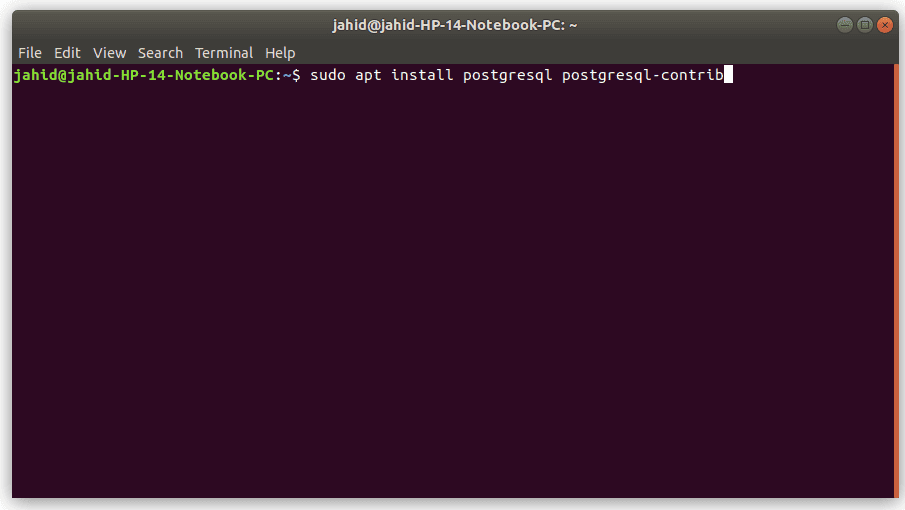
sudo apt install postgresql postgresql-contrib

Here at the end of the second line of the command, you can see that there is a contrib, which means that as you are using Postgres for the first time, this will download and install all the additional required files in your system. Once your terminal is in action, you will see a progress bar below in your terminal, showing how many percentages of installation are done.
So now, PostgreSQL is installed successfully inside your machine or system.
Step 2: Installation of pgAdmin for PostgreSQL
As it is mentioned earlier that pgAdmin is the control unit of PostgreSQL, so pgAdmin must have been installed properly to run the database engine. The pgAdmin3 is already available in Ubuntu Software Store. You just need to type and search pgAdmin inside the software store. You will find pgAdmin3 there, and there you go, install it with your system administrative password.
Step 3: Changing the Master Password of pgAdmin3
In the PostgreSQL database, pgAdmin always comes with prelocked with a master password for the purpose of data encryption and the safety of the database. To use pgAdmin3 inside PostgreSQL, you have to change the master password of pgAdmin3. For that, at this stage of the installation process, you have to open the terminal in your system and type the following command lines in the terminal given below. This terminal commands will reach you towards the stage of changing the password of pgAdmin in PostgreSQL.
sudo -u postgres psql postgres
\password postgres
Now you have to assign your new password and type one more time for security purposes. There you go, Now you have full control over your database engine.
Creating a New Database in PostgreSQL
After the installation process is done, it is time to create a new database and test it. Before we start, let me tell you that PostgreSQL works with the interface of a web browser. So when you create your database in pgAdmin and you may see the output opening in your web browser. Now open pgAdmin3, and you will find a New Server button right in the upper row. Click on ‘Add Server’ it will show you a dialog box. This box is the setting function for your database server.
The settings will be as given below:
Name: Name of your database
Host: localhost
Port: 5432
Maintenance DB: postgres
Username: postgres
Password: Password that you have changed earlier with terminal.
Group: Servers
If everything is done, click Ok, it will open a new pop-up window ensuring that you have changed the pgAdmin3 password, click Ok again.
Here you are almost done, your IDE is ready to be programmed now. To open the SQL IDE, just click on the SQL button. It will open another window where you will be able to write your first program. Here for explanation purpose, I have written a simple SQL program of coffee name with order table using join command.
Enjoy your free and open source database engine, PostgreSQL pgAdmin.
Finishing Touch
Here you are at the very ending of this post. In this post, we have discussed the installation process of the PostgreSQL database and pgAdmin in Linux. As a relational database management system, the PostgreSQL database is the most popular and reliable nowadays.
If you have anything to ask related to this post, please feel free to type in the comment section. And don’t forget to share this tutorial with your friends in your social network.