If you have your own PHP server and know that it is on Linux, you can install the ionCube loader extension on your server to decrypt (previously, it worked as an encryptor) the scriptings of your PHP server. Suppose you are a server administrator or involved e-commerce dropshipping business. In that case, you probably already know that sometimes big e-commerce sites don’t allow dropshipping products without having the ionCube loader on your PHP server. Moreover, if you are a PHP developer, you can use ionCube to hide your own code from your clients. It won’t take much time to install the ionCube loader extension on a Ubuntu Linux system.
IonCube Loader on Ubuntu Linux
The ionCube loader is written in PHP programming language; it is available for both 64-bit and 32-bit system architecture machines. You can install the ionCube service on macOS, Linux, FreeBSD, and cPanel. To install the ionCube loader extension on your Linux system, you’ll need the root privileges and the basic knowledge of PHP server configuration. In this post, we will see how to install the ionCube loader PHP extension on Ubuntu Linux.
Step 1: Install Apache On Ubuntu Linux
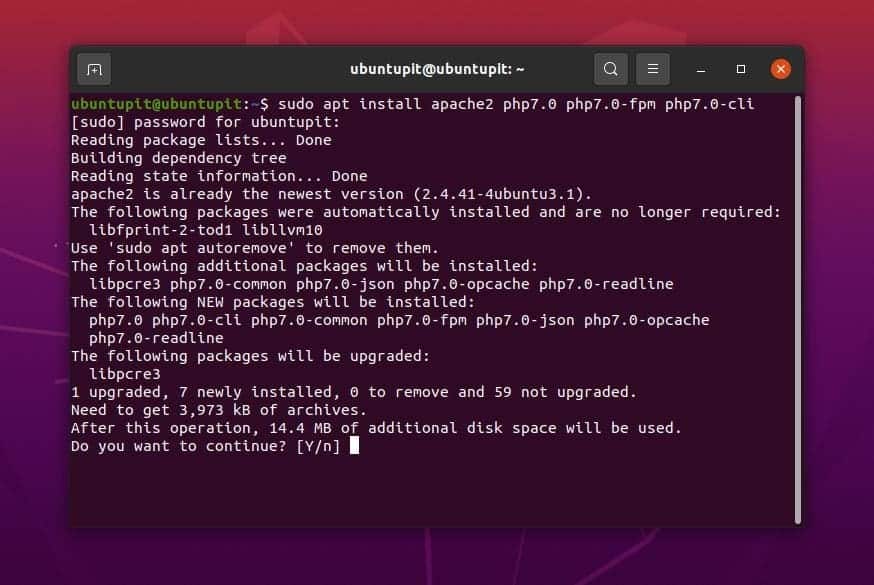
To install the ionCube loader extension on your Ubuntu Linux, you need to have a PHP server installed and active on your machine. You can either use the Apache PHP server or the Nginx PHP server. Here, I’ll be using the Apache server. First, run the following command on your terminal shell to install the Apache PHP server.
$ sudo apt install apache2 php7.0 php7.0-fpm php7.0-cli

After installing the server, you can now run the following system control command to enable and restart the Apache PHP server.
$ sudo systemctl start apache2
$ sudo systemctl enable apache2
Step 2: Download IonCube Loader
After installing the Apache server, we will now check our system’s architecture version to download the appropriate version of the ionCube Loader. If your machine is built on a 32-bit architecture design, you have to download the 32-bit version.
As most Linux servers are built on a 64-bit architecture design, we will see how to download and install the 64-bit version of the ionCube loader extension. You can run the following command to check your machine’s architecture build.
$ uname -r
Now, run the following cd command to enter the temp directory of your Linux filesystem. Then run the wget command to download the ionCube loader extension on your Ubuntu machine.
$ cd /tmp
$ wget https://downloads.ioncube.com/loader_downloads/ioncube_loaders_lin_x86-64.tar.gz
If you have a 32-bit machine, run the following wget command instead.
$ wget https://downloads.ioncube.com/loader_downloads/ioncube_loaders_lin_x86.tar.gz
When the download finishes, run the tar command given below to extract the compressed ionCube loader file. When the extracting finishes, run the ls command cd and ls commands given below to enter the ionCube directory.
$ tar -zxvf ioncube_loaders_lin_x86*
$ cd ioncube/
$ ls -l
Step 3: Install IonCube On Ubuntu Linux
To install the ionCube loader extension on Ubuntu, we need to know our Apache PHP server’s PHP version. You can run the following command to see the PHP version. Make sure that the PHP version is 7.2 or higher. Now, note down your PHP version in a notepad; we will use it later.
$ php -v
Now, run the following GREP command to find your PHP extension file’s location inside your Linux filesystem. When you get the directory location, please take note of the directory location.
$ php -i | grep extension_dir
You can now run the following cp command to copy the ionCube loader extension files inside your PHP files.
$ sudo cp /tmp/ioncube/ioncube_loader_lin_7.4.so /usr/lib/php/20190902
Step 4: Configure IonCube Loader
After downloading and moving the ionCube loader PHP extension on your Ubuntu Linux, it’s time to configure the ionCube loader. You can run the following command-lines given below to edit the PHP configuration script. You need to edit both PHP CLI and the PHP Apache files.
Run the following command to edit the PHP CLI configuration script.
$ sudo nano /etc/php/7.0/cli/php.ini
Run the following command to edit the Apache2 configuration script.
$ sudo nano /etc/php/7.0/apache2/php.ini
After opening the configuration scripts, you need to add the following line inside the script. When the edit finishes, save and exit the file.
zend_extension = /usr/lib/php/20190902/ioncube_loader_lin_7.4.so
Then restart your Apache PHP server on your Linux machine.
$ sudo systemctl restart apache2
Step 5: Test IonCube Loader
Finally, we are almost done with installing the ionCube loader PHP extension on our Ubuntu Linux system. Now, we will run a quick checkup test to monitor whether it is configured with the PHP framework or not.
To check the appearance of ionCube in the PHP framework, you can check the PHP version on your Linux system. The command would return you the PHP version and the Zend engine version and the presence of ionCube.
$ php -v
Final Words
I have described step by step how you can download, configure, and check the IonCube loader PHP extension tool on Ubuntu Linux in the entire post. I have also described the prerequisites of installing it on a Linux system. If you find this post useful and handy, please share it with your friends and the Linux community. You can also write down your opinions regarding this post in the comment section.
You are a life saver, God bless you (if you believe in him) otherwise whatever you believe in bless you. i’ve been on this for over a week now with no progress. thank you.