In Ubuntu, the PPA is defined as Personal Package Archive, which is used to add or remove packages on a Debian-based system. PPA’s are built by individual persons to develop and update packages for Linux. There are several reasons why one might need to use PPA on a Linux system. Sometimes you would not find the official package of an item on the web, but you might find a personal package archive of that package. If you’re a software developer, you can contribute to the open-source community through the PPA. Using PPA’s is not harmful, and you can avoid harmful PPA’s with basic computing knowledge. You can use PPA to add or remove packages on the Ubuntu system.
PPA in Ubuntu Desktop
As a widely used Linux distribution, Ubuntu has already gained popularity among many users as the number of Ubuntu users is increasing day by day. Different types of users need different kinds of applications. Developers are volunteering to build Ubuntu packages to fulfill the demand for software. That is how the concept of PPA in Ubuntu arrives. PPA is not a centralized repository of packages. Furthermore, it consists of a personal package repository. This post will see what PPA is and how to add/remove it on a Ubuntu machine.
Check Installed PPA
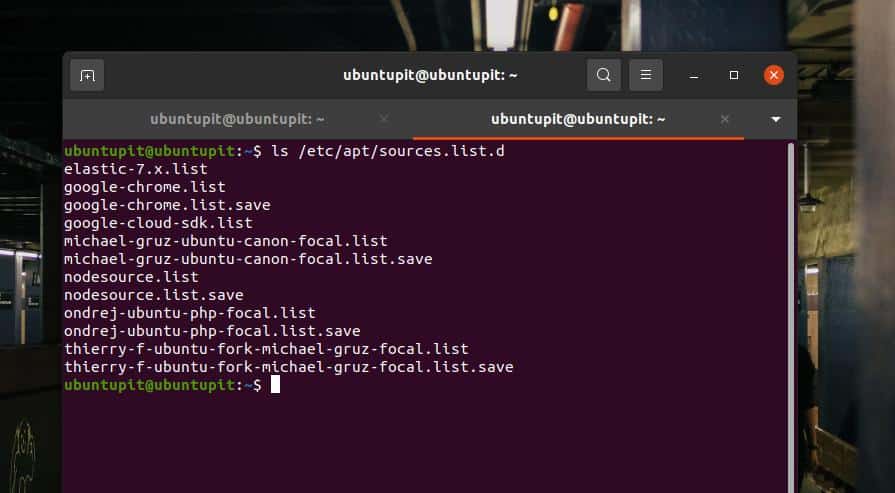
Before adding or removing any PPAs on your Ubuntu machine, you might need to run a quick check command to see what PPAs are already added to your system. You can get an overall idea about the PPAs on your machine by running the following on your Ubuntu terminal shell.
apt policy
$ ls /etc/apt/sources.list.d
Add or Remove PPA in Ubuntu
You may need to add PPAs for updating or installing packages through the personal package archive repository. In the same way, you would also need to remove a PPA to remove the package. There are both graphical user interface (GUI) and command-line interface(CLI) based methods available to add or remove a PPA on Ubuntu.
Method 1: GUI Method of Adding/Removing PPA on Ubuntu
The graphical user interface method of adding a PPA is the simplest method to add it on Ubuntu. You can navigate to the ‘Software & Updates’ settings to open the repository list. Basically, all the package repositories and PPAs are enlisted here in the Other Software tab. The GUI method requires the root password to add or remove PPA from the repository.
1. Add PPA Through GUI
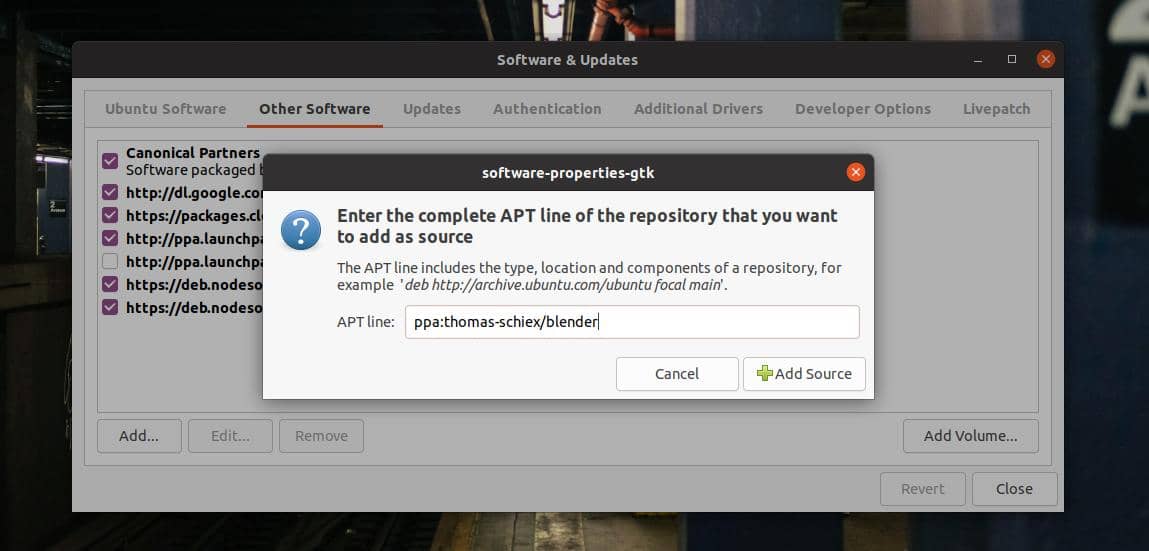
When the ‘Software & Updates’ setting opens, click on the ‘Other Software’ tab to access the PPA list. In the ‘Other Software’ tab, you would see all the added PPA’s on your Ubuntu system. To add a new PPA to the list, you need to know your desired package’s APT line. You would find the APT line in the package description and guideline links that you need to install.
Here, I’m trying to add a personal package archive for the Blender package on my Ubuntu. You can look at this link to see how the APT URL is kept inside the description. First, click on the ‘Add’ button to open a new dialog box for adding a PPA. When the box opens, put your APT line and click on the ‘Add Source’ button and proceed with your root password to add a new PPA on your Ubuntu Linux.
ppa:thomas-schiex/blender
2. Remove PPA Through GUI
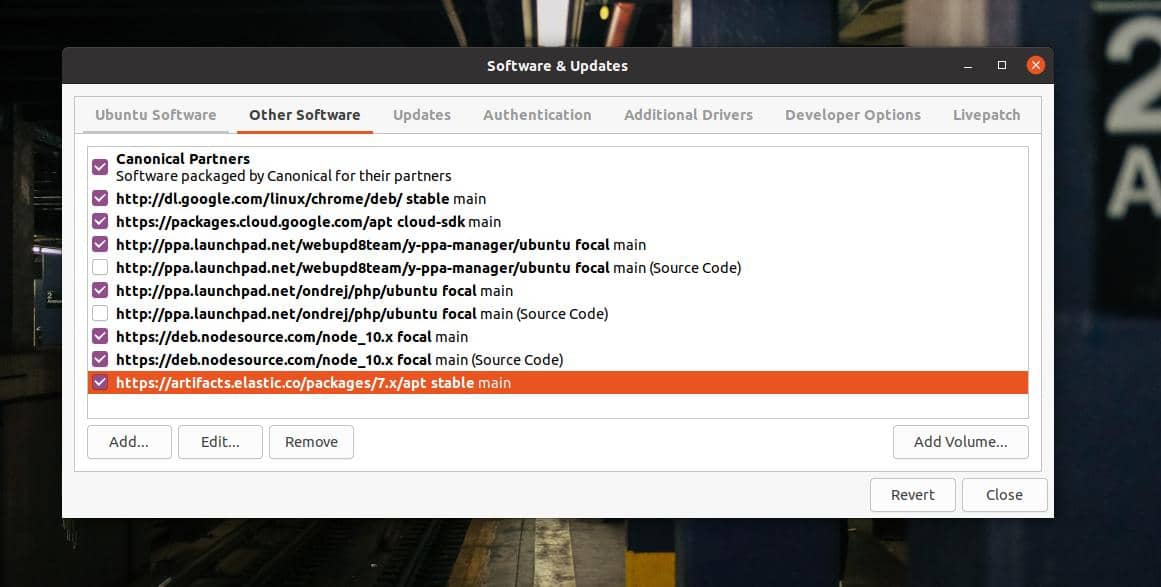
Removing a PPA is more straightforward than adding it through the GUI method on an Ubuntu machine. To remove a PPA, you need to click and select a specific repository from the ‘Other Software’ tab under the “Software & Updates” window. Now, click on the ‘Remove’ button and proceed with your root password to remove the PPA. You can also click on the ‘Edit button to fix a broken PPA instead of removing it.
Method 2: CLI Method of Adding/Removing PPA on Ubuntu
Till now, we’ve seen the GUI method of adding or removing personal package archives on Ubuntu. If you’re a power Linux user, I’m sure you’re looking for the CLI method of adding/removing PPA on Ubuntu. Definitely, doing something on Linux is more convenient through CLI and GUI. This method also requires to have the root access to perform the PPA removing and adding commands.
1. CLI Method of Adding PPA on Ubuntu
To add a PPA to your Ubuntu system, you can run the following command on the terminal shell. Please don’t forget to replace the ‘ppa_name’ syntax with your PPA name.
$ add-apt-repository ppa:ppa_name
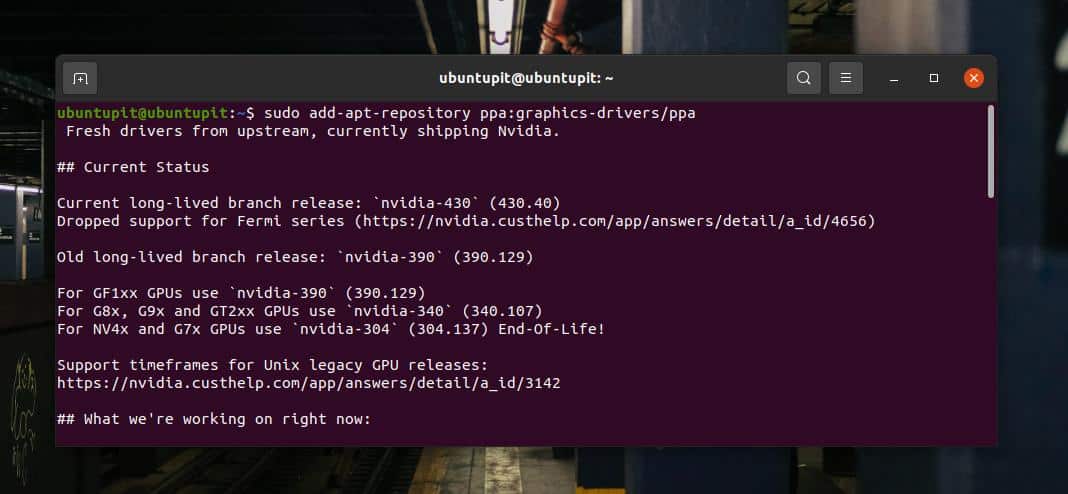
For instance, you can observe the following command and get an idea of how the PPA name is added at the end of the command. Here, the following command will initialize the process of installing the Nvidia graphics tool on an Ubuntu system.
sudo add-apt-repository ppa:graphics-drivers/ppa
2. CLI Method of Removing PPA on Ubuntu
Removing a PPA on Ubuntu through the CLI method is pretty much similar to adding it. You need to run a remove PPA command on the terminal shell to remove it. The PPA name must be kept at the end of the command line. To remove a PPA from your system, run the following command on the terminal shell. Please don’t forget to replace the ‘ppa_name’ syntax with your PPA name.
sudo add-apt-repository --remove ppa:name/here
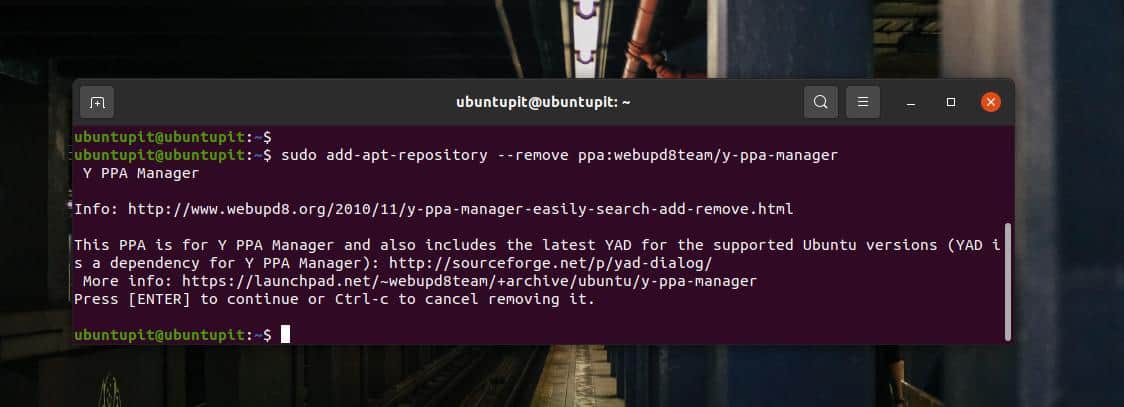
You can observe the following command to get an idea of how the PPA commands. The following command will remove the Y-PPA package repository from a Ubuntu machine.
sudo add-apt-repository --remove ppa:webupd8team/y-ppa-manager
You can also run the purge command to purge a PPA from your Ubuntu machine.
sudo ppa-purge ppa:name/here
Extra Tip: Install Y-PPA Manager
The Y-PPA is a very convenient tool to install, remove, and manage PPAs on a Ubuntu machine. It will provide a strong graphical user interface to maintain PPAs on your system. You can run the following PPA command and aptitude commands given below to install the Y-PPA tool on your system.
$ sudo add-apt-repository ppa:webupd8team/y-ppa-manager
$ sudo apt update
$ sudo apt install y-ppa-manager
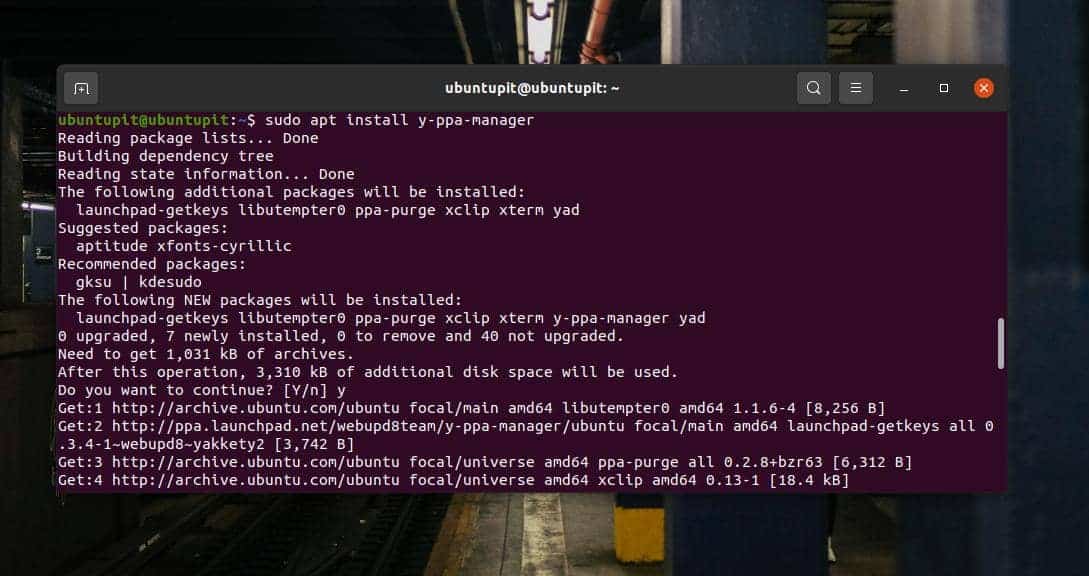
After installing the Y-PPA tool, you can open it through the following command given below. You can find the Y-PPA package icon at the top search bar of Ubuntu.
$ y-ppa-manager
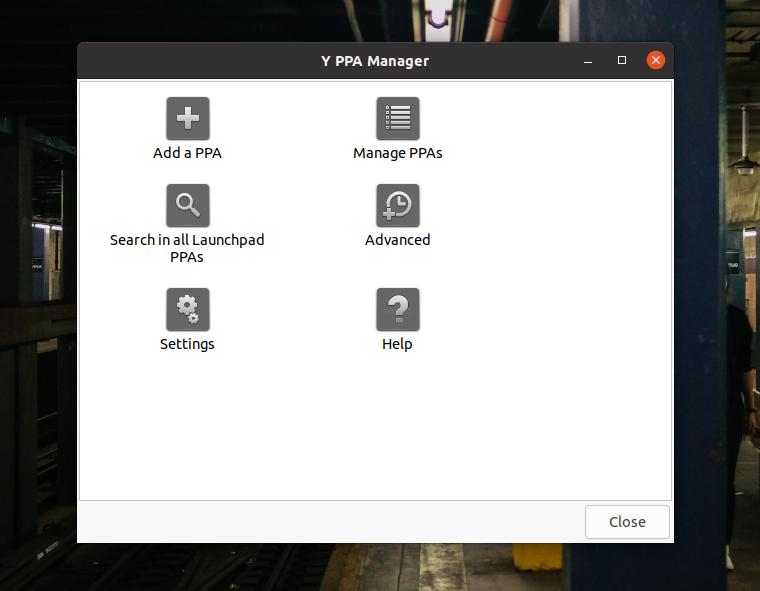
When the Y-PPA opens, you would need to put your root password to access it. You will find buttons to add, remove, and manage PPAs on your Ubuntu machine in the opening screen.
Final Words
PPAs are essential to test, trail, or develop packages for Ubuntu. There are many excellent and essential package for Ubuntu that uses PPA. I’ve described the basic concept of personal package archive and the CLI and GUI methods of adding and removing PPA on a Ubuntu machine in the entire post.
Please share this post with your friends and the Linux community if you find it helpful and informative. You can also write down your opinions in the comment section regarding this post.
